Learning how to install magnetic snap hardware begins with identifying the mounting type: prong, rivet and sew-in closures need different preparation. Prong snaps, rivet snaps and sew-in closures need different tools and preparation. This guide explains a typical prong installation, then covers the checks needed for the other structures.
Choose a suitable model from our magnetic snap range and test it on offcuts before cutting the finished project.

How to install magnetic snap hardware correctly
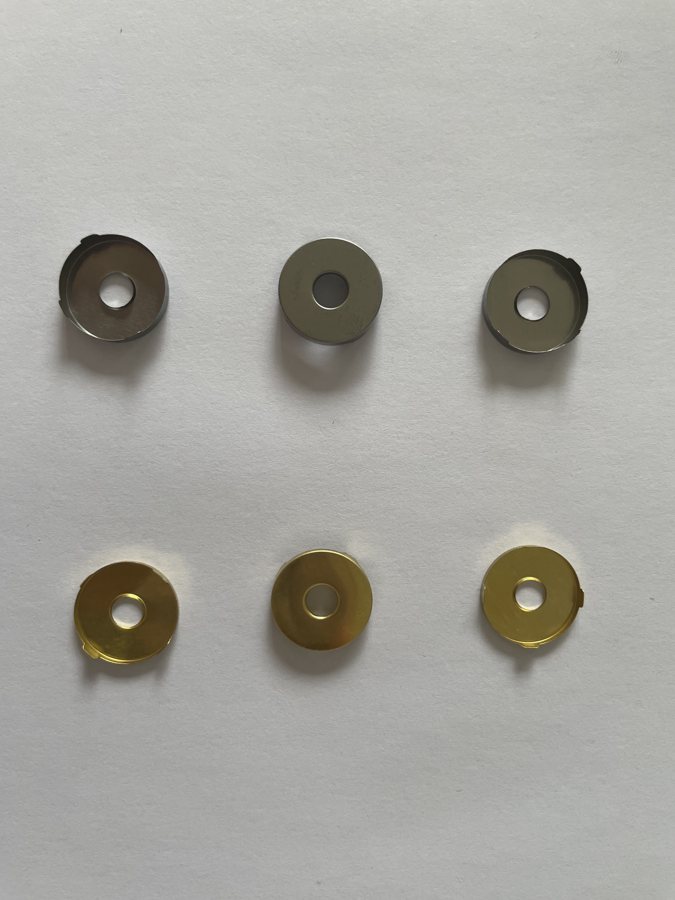
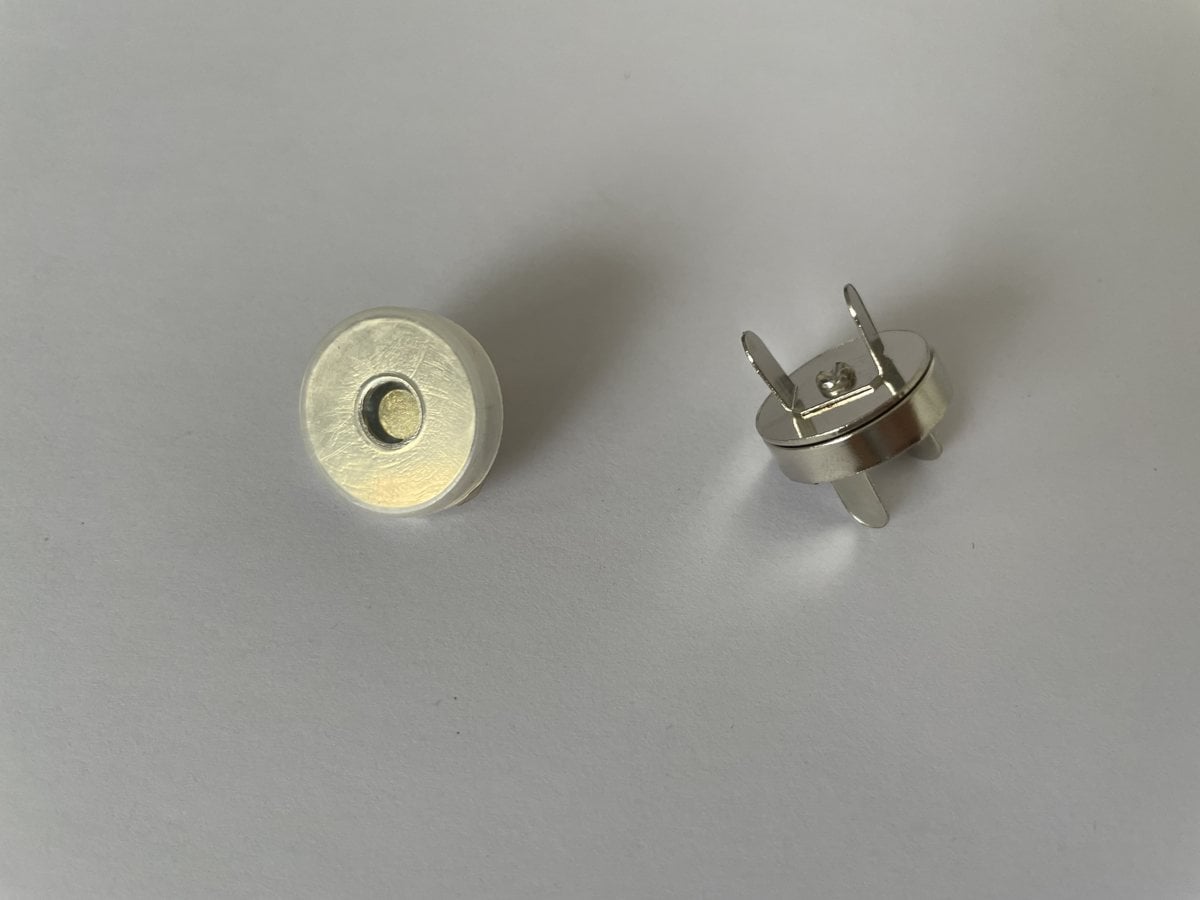
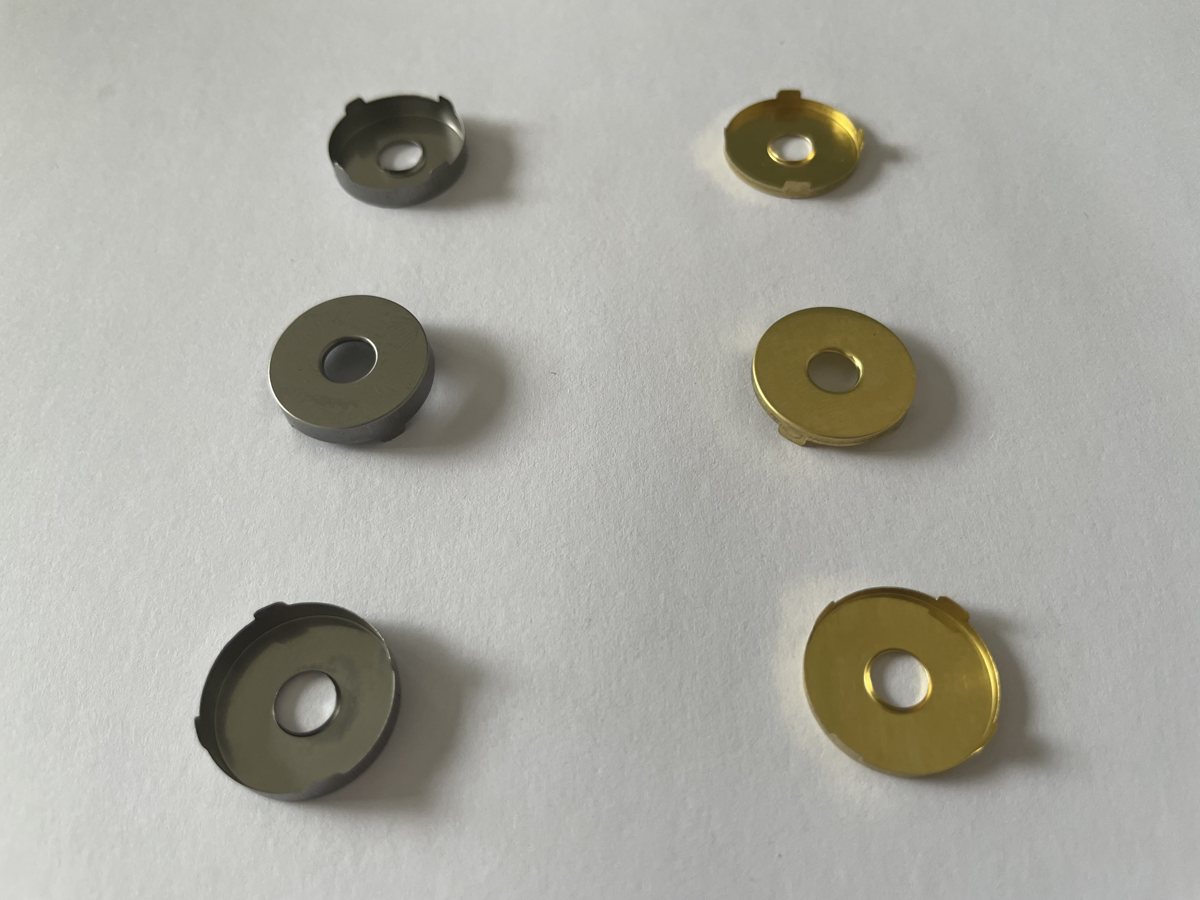
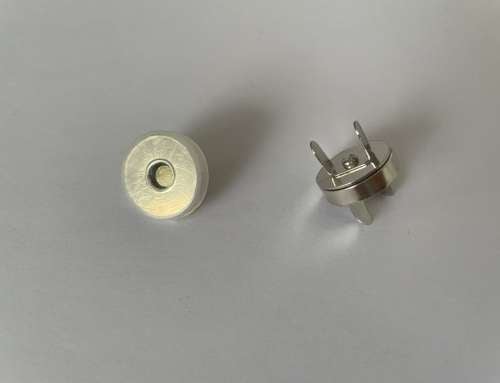
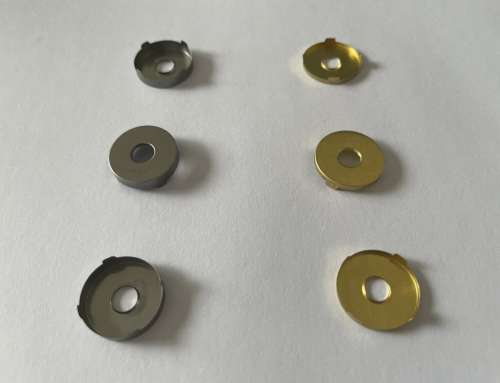
For a typical prong snap, check that you have both mating halves and the corresponding backing washers. Prepare a marking tool, a suitable slit-cutting tool, a cutting surface and tools for folding the tabs without marking the finish. Add reinforcement appropriate to the leather and lining.
Measure the complete fixing area. Thin or soft leather can distort under repeated opening, while a thick folded assembly may exceed the available mounting length. Review magnetic strength and material thickness before finalizing the model.
Install a prong magnetic snap
1. Mark the closed position
Assemble or fold the product into its intended shape and mark where both halves meet. Check the position with the bag or journal filled as intended. Allow for seams, folds and the space occupied by the backing.
2. Reinforce and mark the tab openings
Support the mounting area before installation. Use the supplied washer or an accurate template to mark the tab positions. Keep reinforcement clear of visible edges unless it is part of the design.
3. Cut only the necessary openings
Make slits sized for the actual tabs. Oversized openings can allow movement and weaken the fixing. Use a controlled cutting method on a suitable surface, keeping fingers clear of the tool.
4. Fit the half and its washer
Insert the tabs through the leather and reinforcement, seat the washer, then fold the tabs as the component supplier specifies. Protect the visible cap and avoid leaving sharp edges against the lining.
5. Align and install the mating half
Confirm the position again before making the second set of cuts. Test the closure before permanently closing the lining. Both halves should meet without pulling the flap sideways or stretching the leather.
Rivet magnetic snaps need matching tools and dies
Rivet-style magnetic snaps require an installation tool and a corresponding die set. Hand presses, powered presses, hand pliers and hammer tools use different arrangements. Select equipment according to the specific hardware and production requirement.
Richarms corresponding dies can be matched to its corresponding products. Other factories' dies may not fit Richarms hardware, and Richarms dies may not fit another factory's hardware. Send equipment photos and dimensions before ordering. See the tooling category.
Sew-in closures need a protected stitch zone
Follow the intended stitching area around the enclosure. Do not stitch through the magnet or puncture its protective housing. Check polarity before the lining is closed and secure the enclosure against movement. The sew-in closure guide covers this construction in more detail.
Related Reading
Inspect the finished sample
Check seating, sharp edges, alignment and opening force. Open it repeatedly and inspect the leather for distortion. For journal projects, compare thin and thick snap profiles before ordering a batch.
Review Richarms videos on YouTube alongside the instructions for your exact model. Browse stock magnetic snapsou contact Richarms with your material thickness and tool details.


 French
 English
 Italian
 Portuguese
 Spanish
 Turkish
 Korean
 Japanese
 German
 Dutch