Magnetic snap attachment types describe how a closure is fixed to its material. Rivet, prong, tubular rivet and eyelet attachments call for different component checks, even when the visible snap faces look similar. Identify the back of both halves before choosing tooling or preparing your panels.
This comparison focuses on the fixing structure. For the wider choice of shape, finish and application, see our magnetic snap types overview.
Compare four magnetic snap attachment types
Rivet attachment
Identify the projecting post and the component that receives or secures it. Confirm which face remains visible and whether a separate cap or backing part is required. The name “single rivet magnetic snap” should not be read as a promise that both halves have identical backs: inspect the complete set or its drawing.
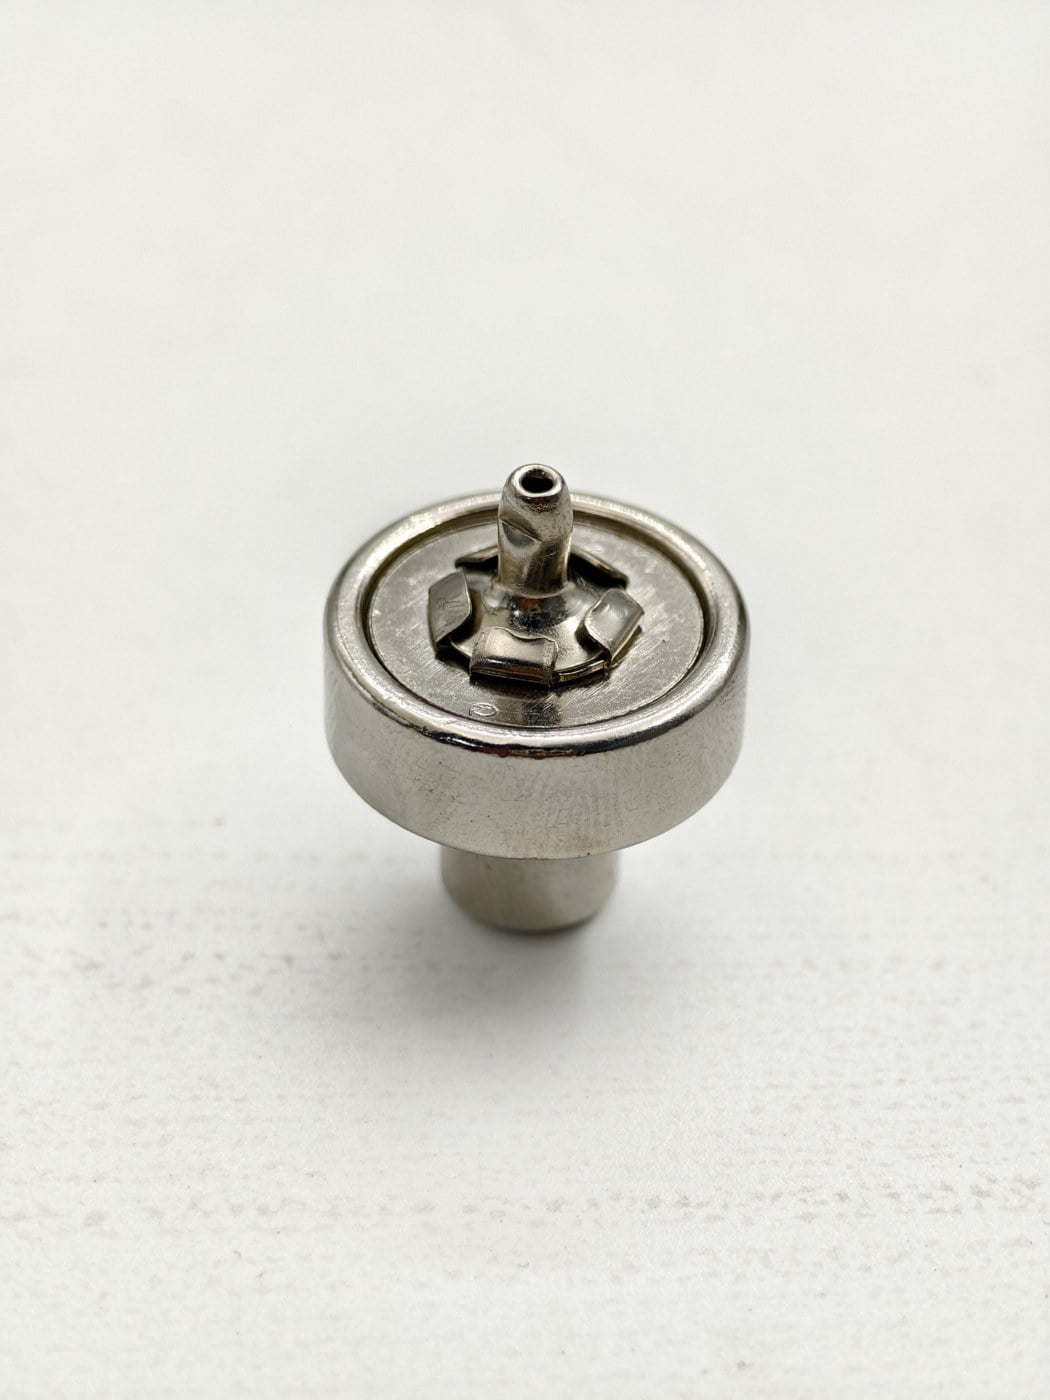
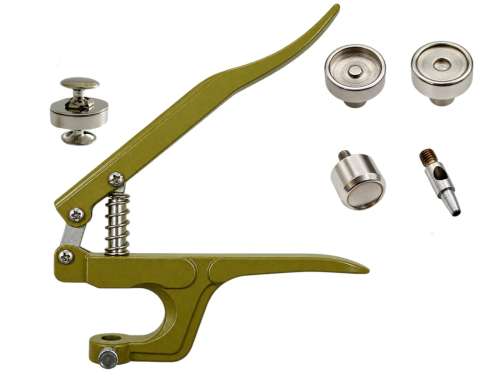
Notre single-rivet magnetic snap product reference is a starting point for model selection. Final tooling and fixing length must match the selected variant.
Prong attachment
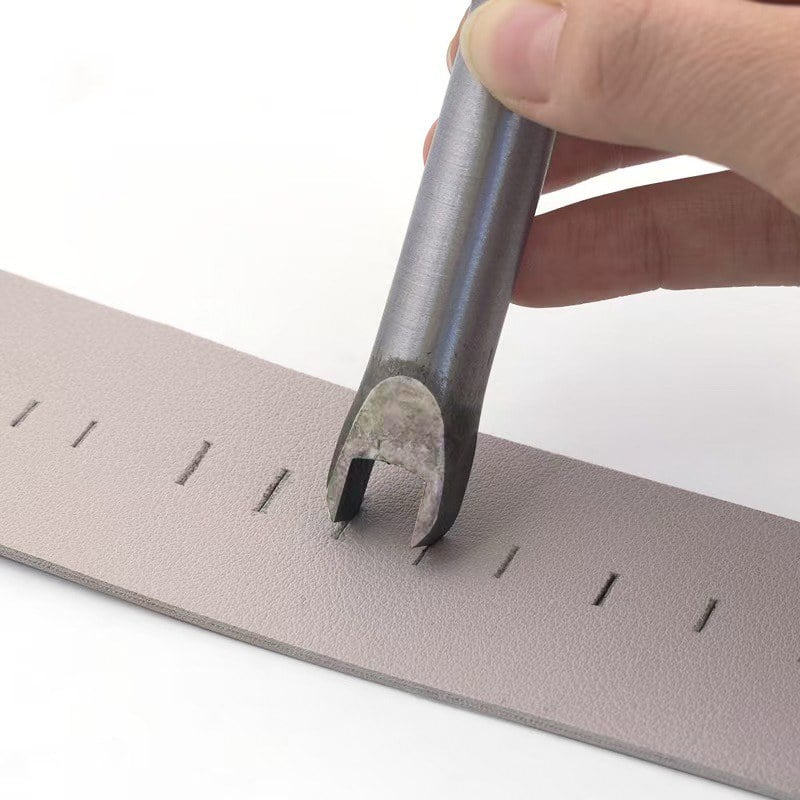
Prongs pass through prepared slots and are formed using the specified process and backing arrangement. Check prong spacing, slot placement and the required backing plate. Do not choose a slot punch from the front diameter alone. Decide how the formed prongs will be covered or positioned in the finished product.
Tubular rivet attachment
A tubular fixing section has a hollow portion involved in the fastening operation. Its shape, receiving parts and forming requirements belong to the particular model. Request a drawing that identifies where the length is measured and which surfaces the dies support. A tubular component is not automatically interchangeable with a solid rivet of a similar outside diameter.
Eyelet attachment
Confirm the eyelet or collar section and all backing components. The visible ring, fixing section and magnetic mating faces serve different functions; photographs of only the front can miss the information needed for tooling selection. Review an exploded view or a complete loose set before ordering.
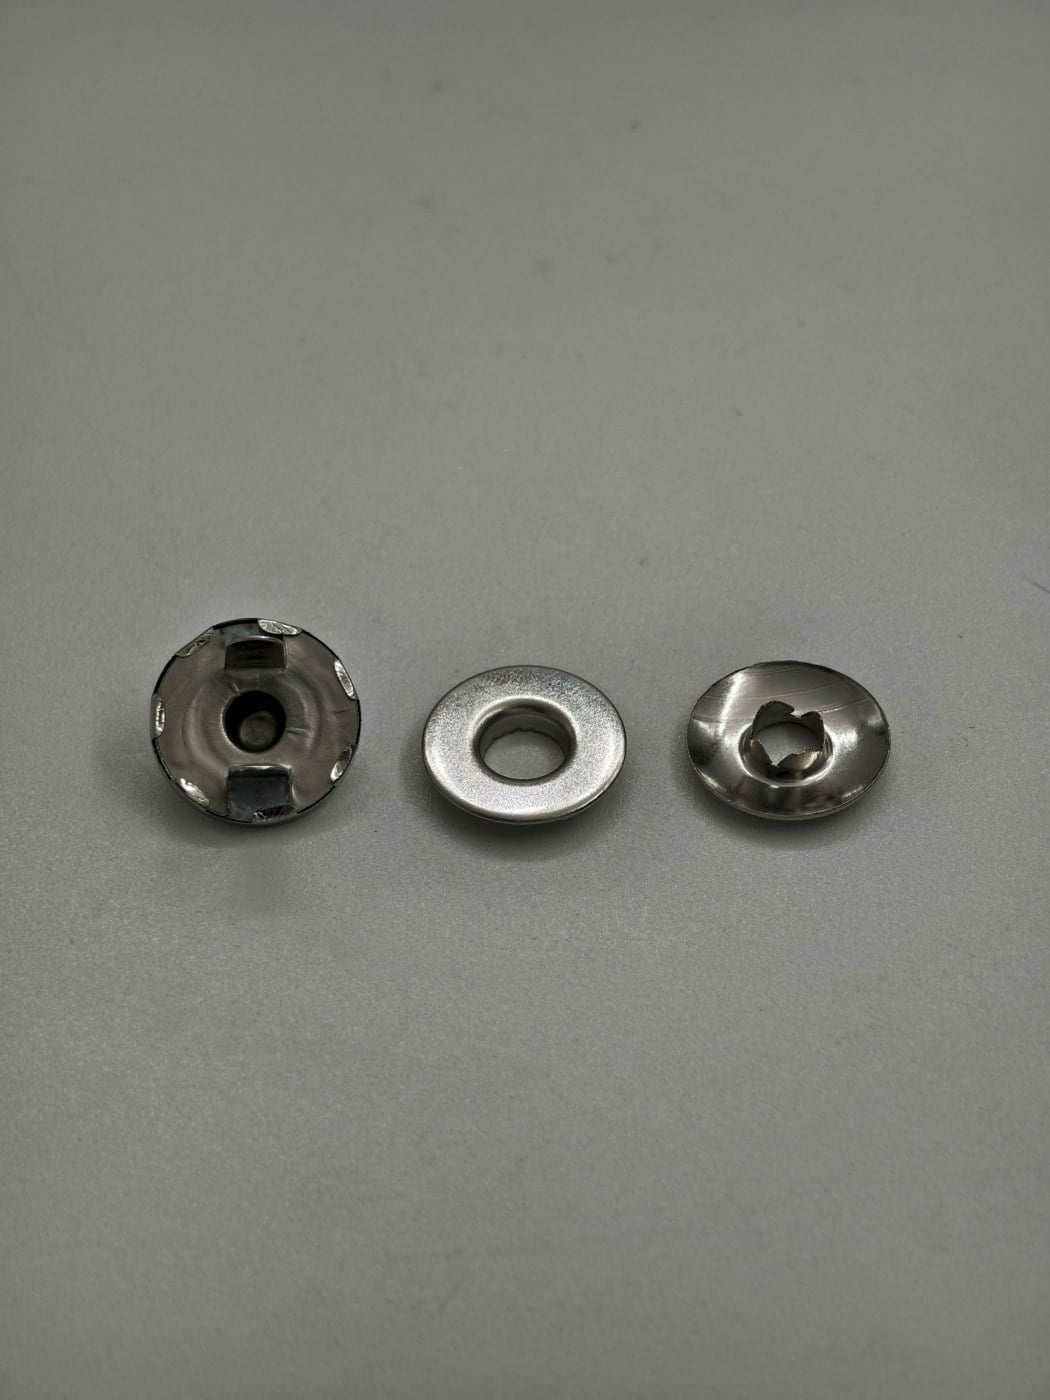
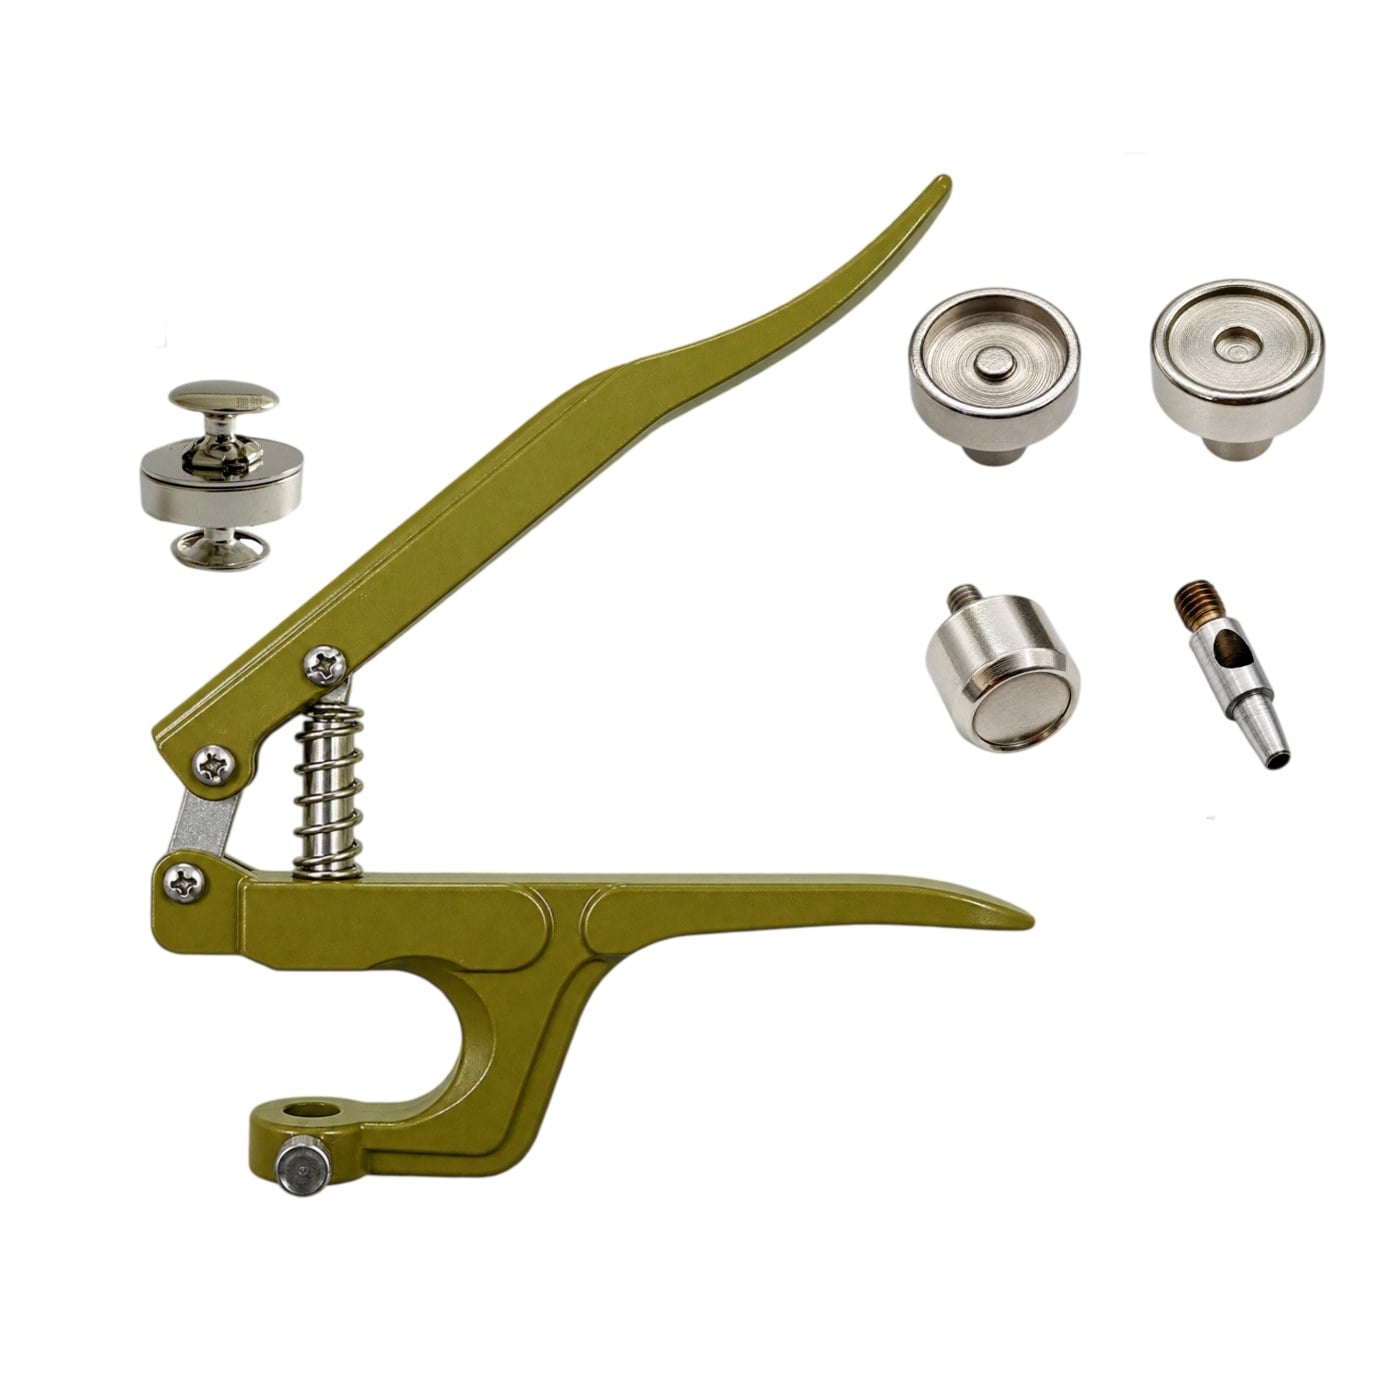
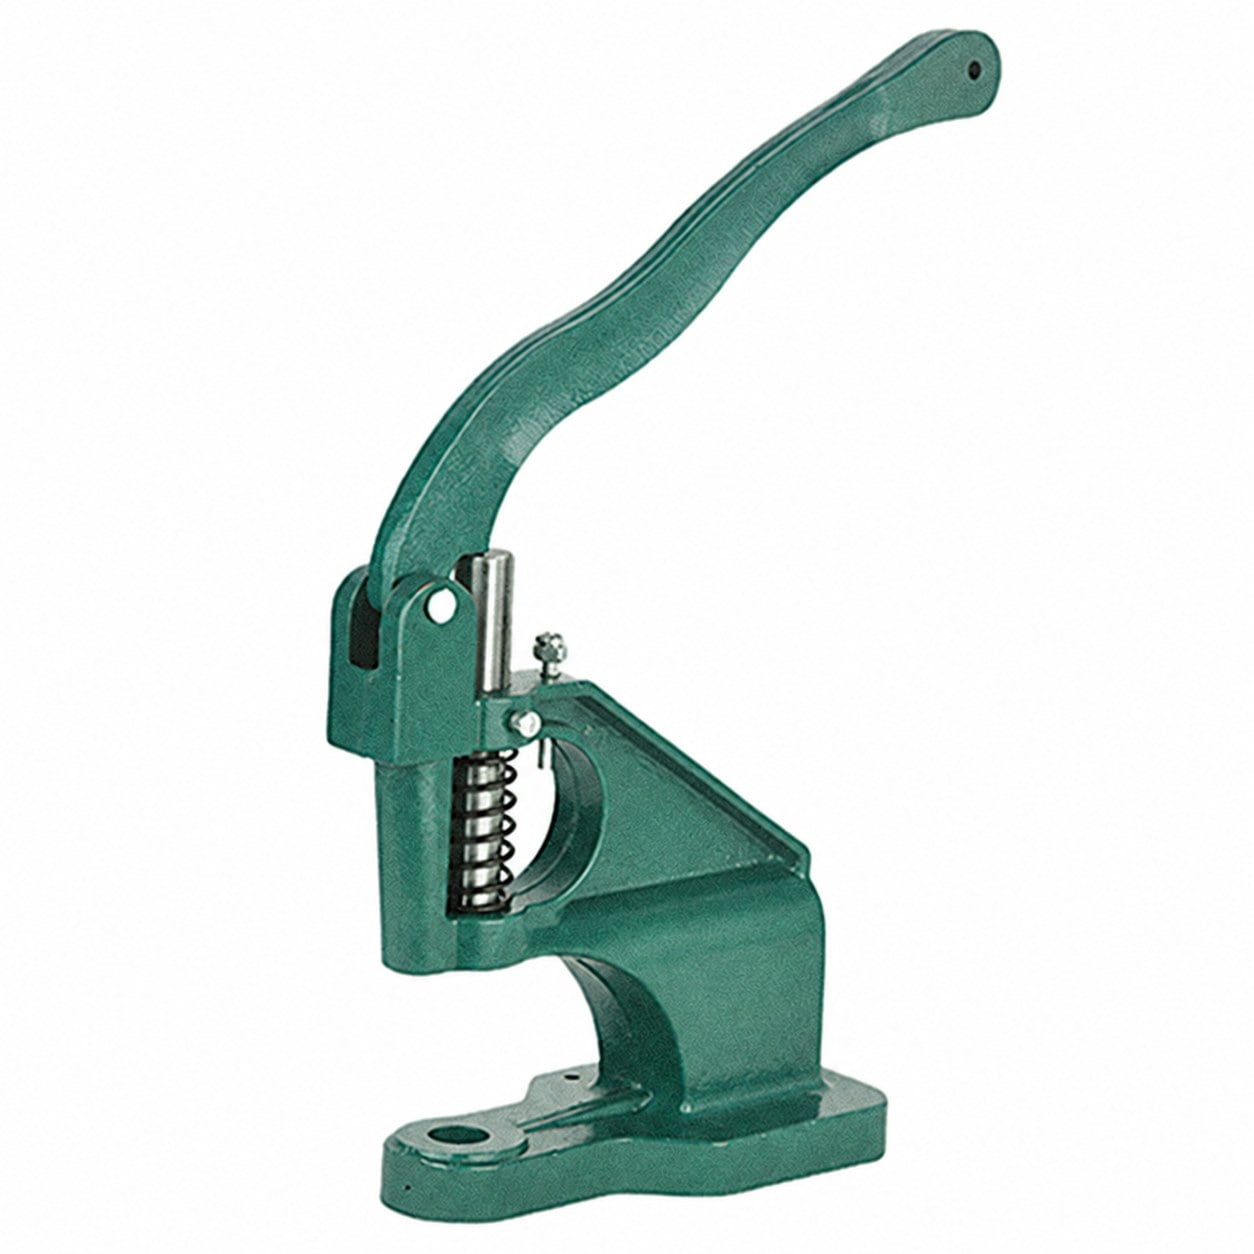
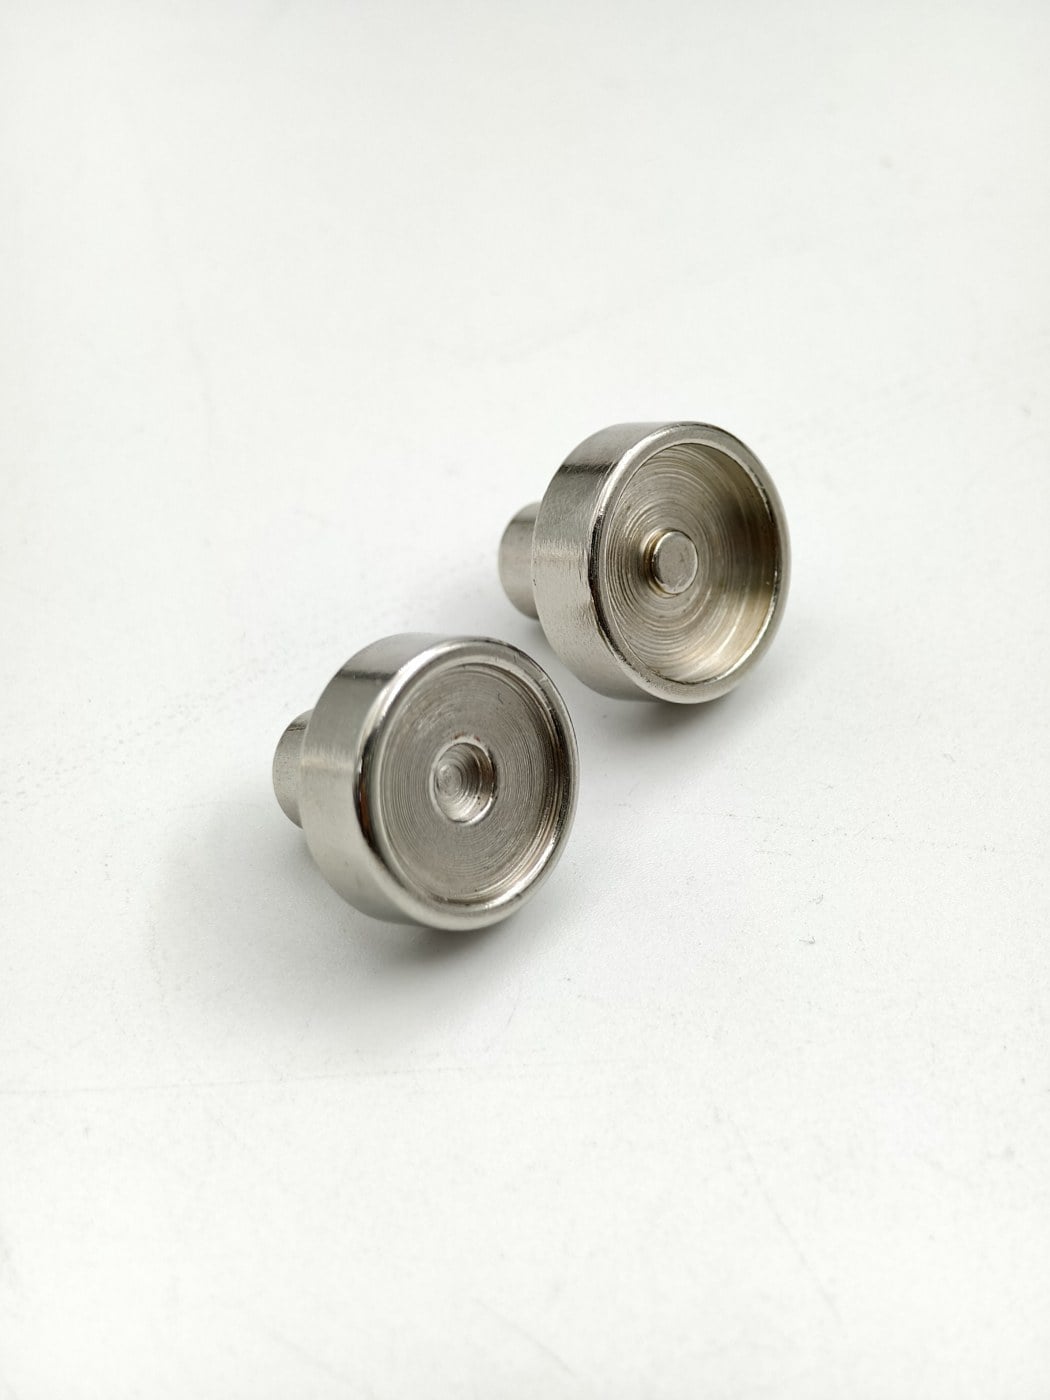
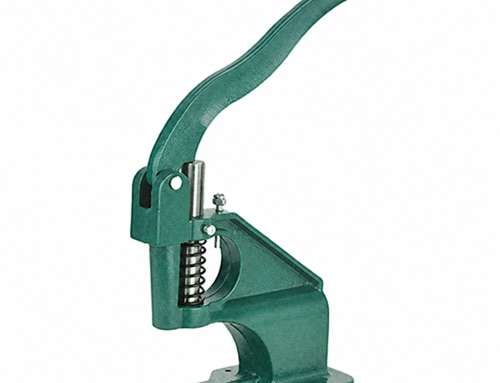
See the grommet tooling reference when discussing this structure with Richarms. It is a model reference, not confirmation that an existing eyelet die will fit your snap.
Compare the assembly constraints
| Question | Why it belongs in the specification |
|---|---|
| Which parts are visible? | Backings or formed ends may affect the lining and finish plan. |
| What is in the fixing stack? | Outer material, reinforcement and backing parts all affect the assembly. |
| Can both sides be reached? | A pocket or gusset may restrict access to the support die. |
| At what production stage is it installed? | Changing the sewing sequence can change access and handling. |
| What must the completed product withstand? | The buyer and factory need agreed acceptance checks for the intended use. |
Specify the complete set, not one loose component
Give each mating half its own identification in the sample record. List caps, washers, backing plates and any separate receiving parts. Include finish and orientation where they matter to assembly. This prevents a purchasing shorthand from becoming an incomplete production instruction.
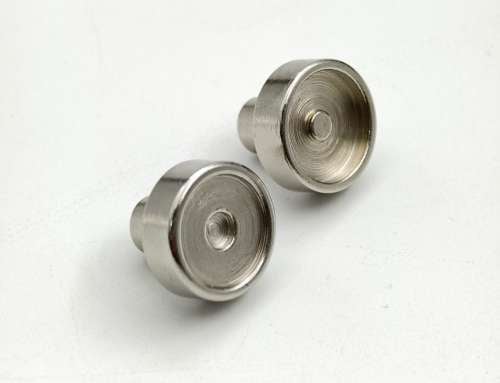
Next, check fixing length against the material stack and match the setting dies to the exact components. Les installation guide connects these decisions to a complete trial.
Confirm the structure with a sample
Ask for a complete sample set and the corresponding installation instructions. Assemble it in the intended material and inspect both sides before approving bulk supply. A photo can help identify an attachment, but it cannot establish installed retention or third-party tooling compatibility.
Send Richarms front and back photos of both halves, together with the material layers and available assembly space. If sourcing a small reference quantity, our Richarms Hardware single-rivet listing provides another model reference; confirm the exact variant and tooling before purchase.

 French
 English
 Italian
 Portuguese
 Spanish
 Turkish
 Korean
 Japanese
 German
 Dutch