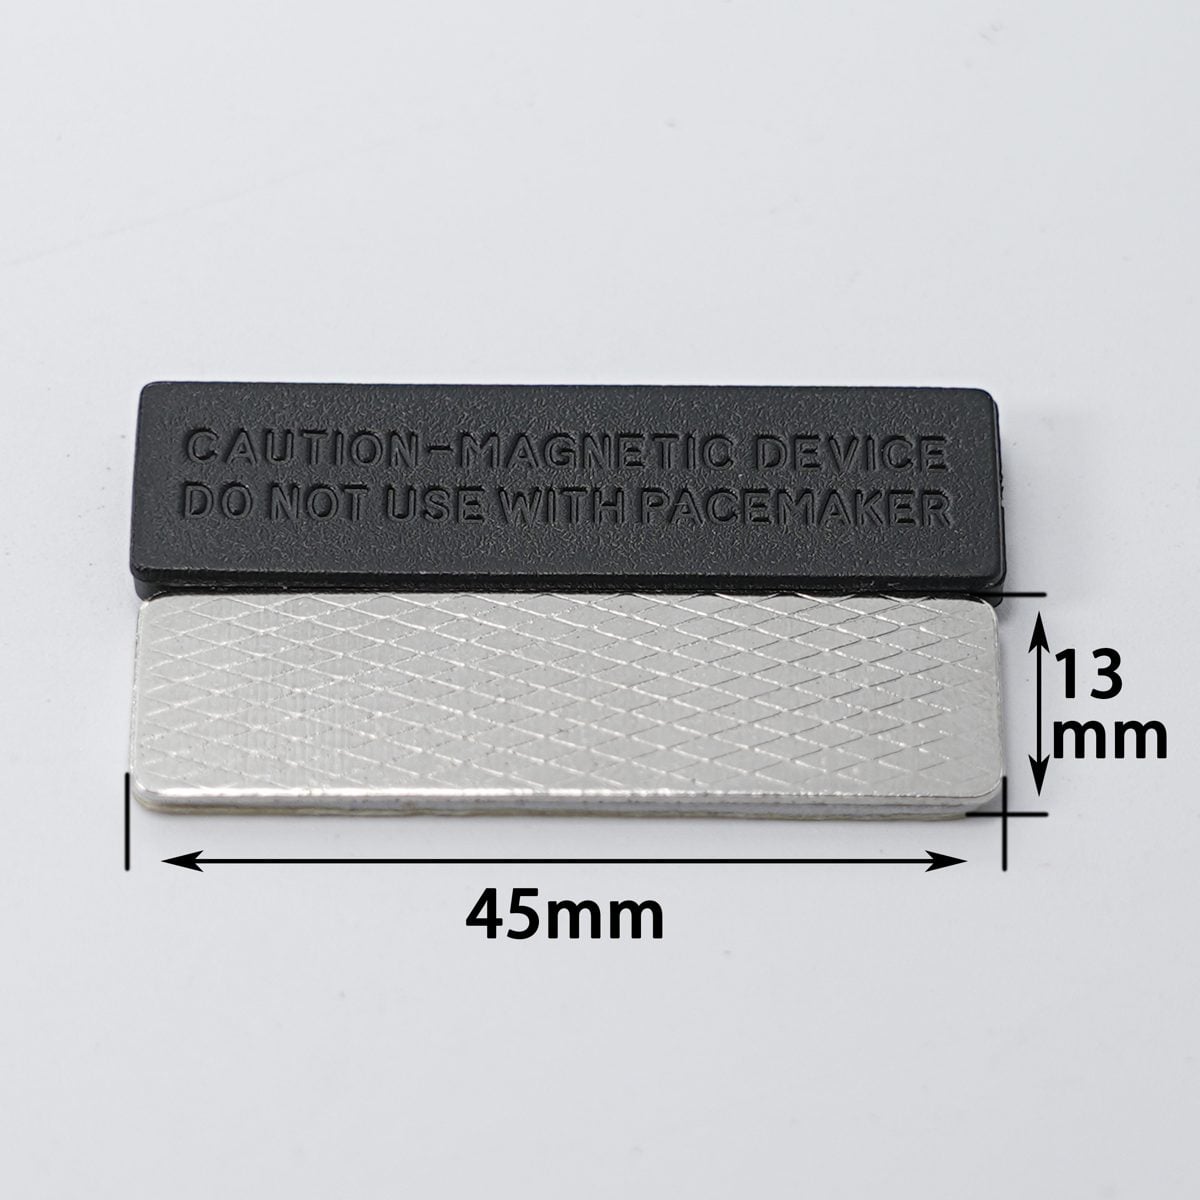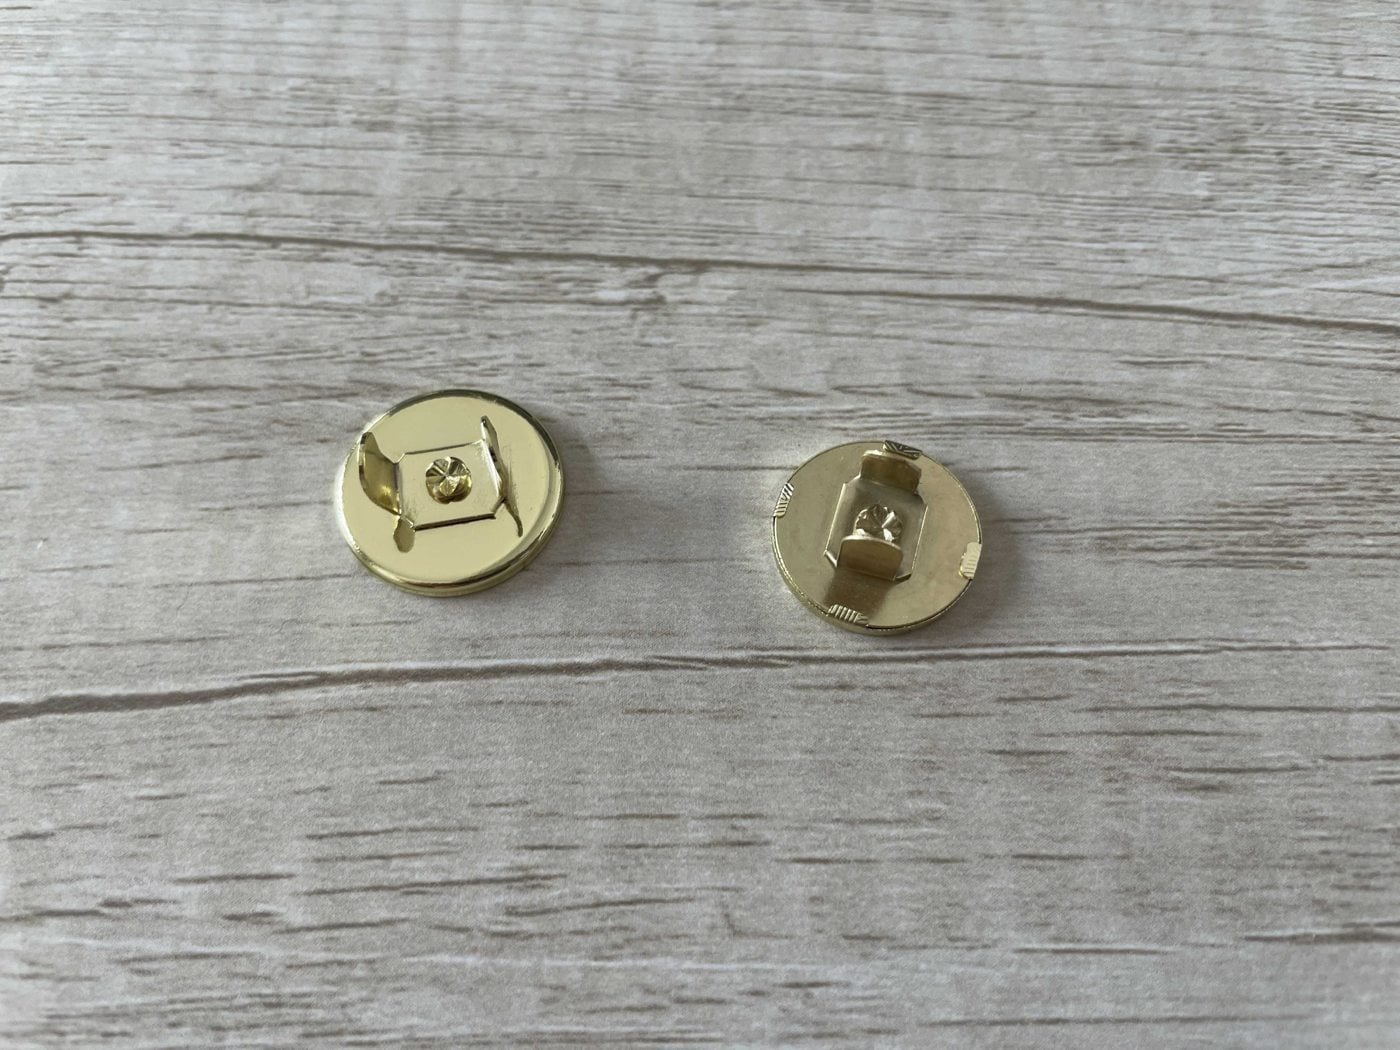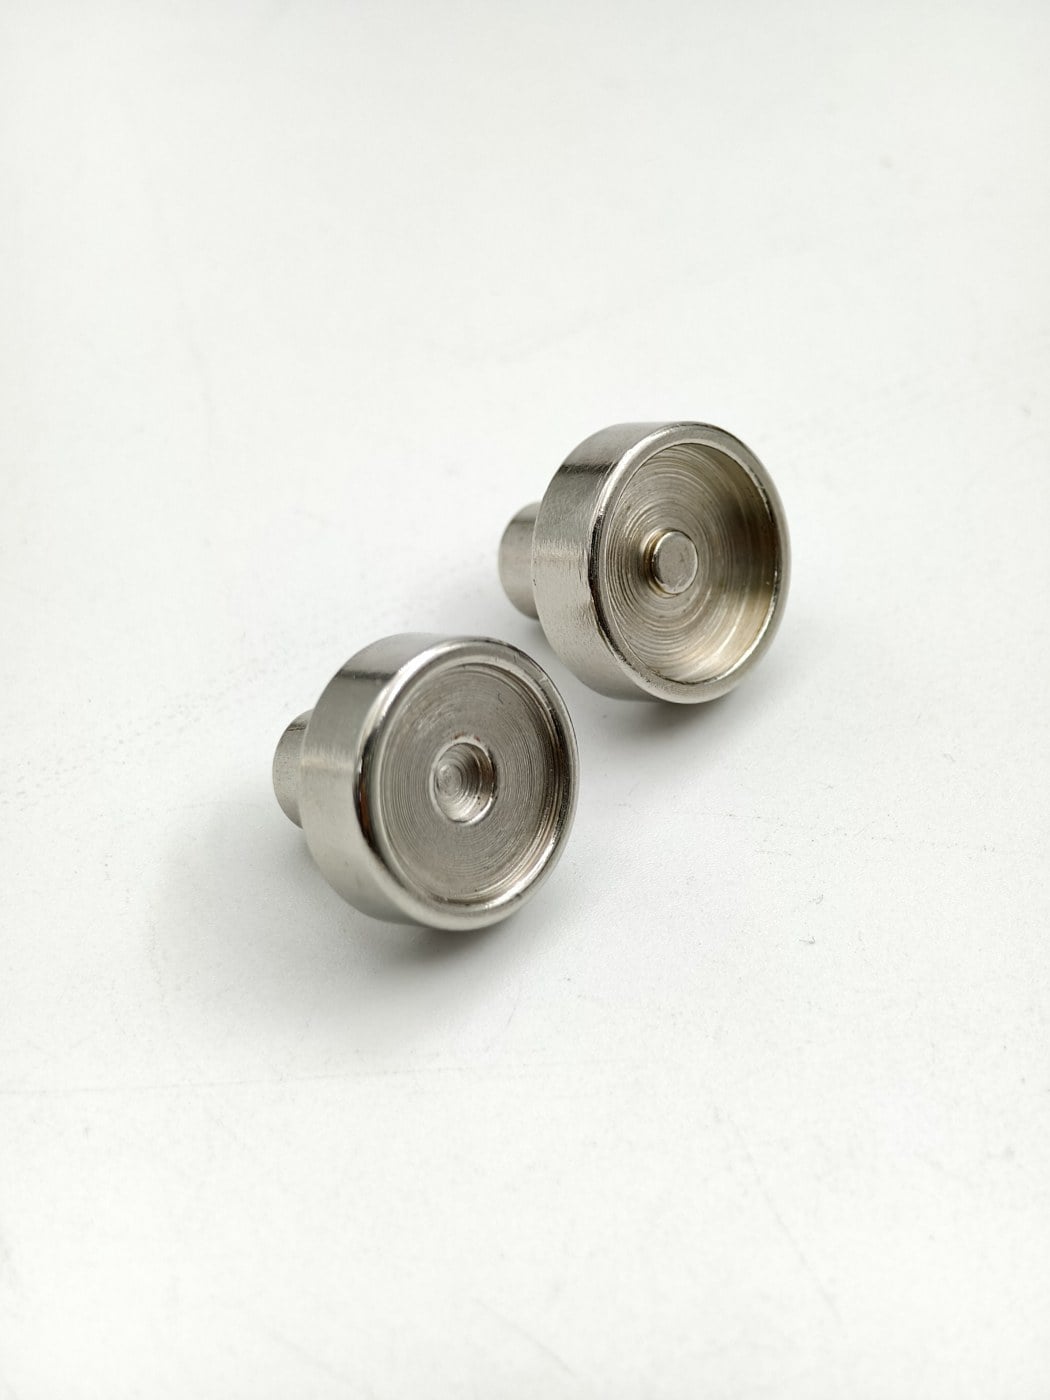
Magnetic snap setting methods include a manual press, electric press, hand pliers and hammer setting. Choosing among them starts with the selected snap and its matching tooling. The method must let you position the workpiece, support the hardware and complete the specified forming operation.
Richarms offers corresponding tooling solutions for rivet, prong, tubular rivet and eyelet structures. Each combination is model-specific: a tool used successfully for one magnetic snap is not evidence that it will install another.
Before comparing magnetic snap setting methods
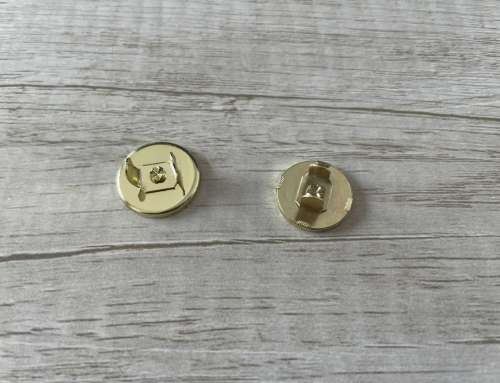
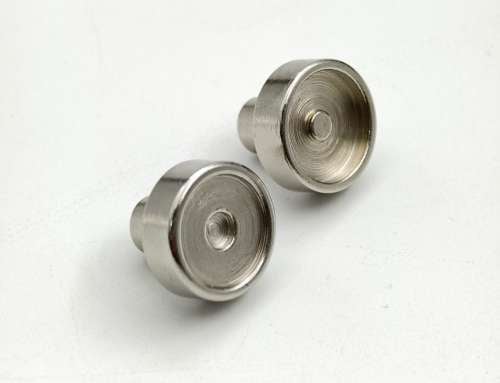
Lay out both mating halves, all backing parts and the identified setting dies. Check the model against the drawing or order record. If you already own equipment, record its model and upper and lower mounts. Use the setting die checklist to resolve compatibility before the trial.
Keep hole preparation separate from setting
A hole punch cuts an opening; a slot punch prepares slots. Neither operation confirms that the hardware has been attached. After preparing the material, change to the specified setting tools and place the components in their required orientation.
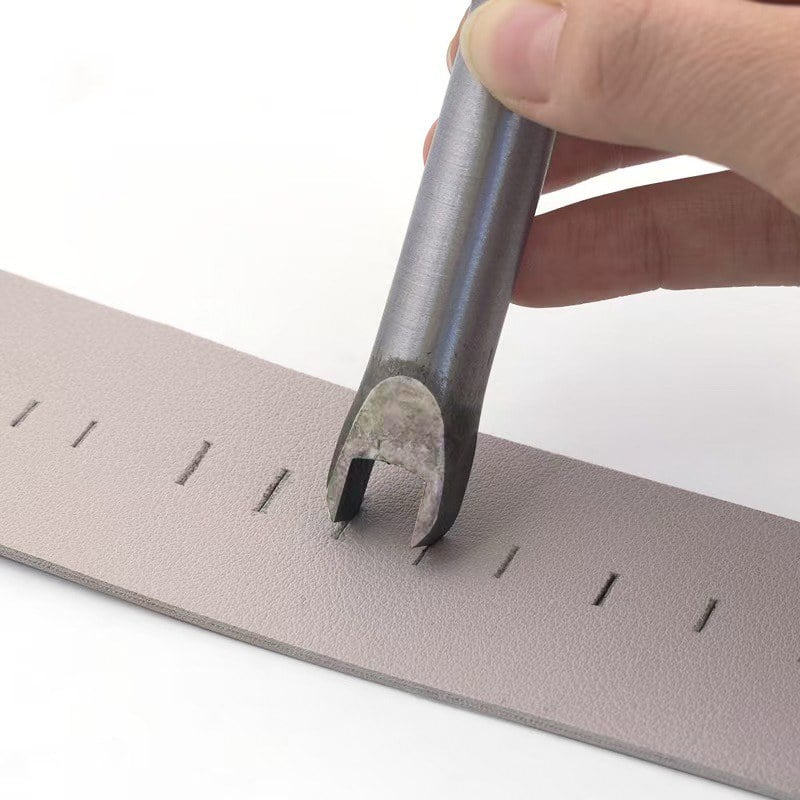
Check hole or slot positioning on a sample panel before using finished goods. Include the lining and reinforcement at the same stage as in production. Preparation errors can remain hidden until the two halves are brought together.
Manual press
A lever-operated press brings the tooling together through a guided movement. Check that the workpiece reaches the setting position and lies on its intended support without folding against the frame. Follow the press and snap setup instructions for the approved die pair.
Keep the first approved sample available at the workstation. A manual operation still needs a defined loading orientation and inspection point; the operator’s experience does not replace a recorded setup.
Electric press
Review the whole sequence: loading, positioning, activation, unloading and inspection. Confirm machine-specific controls and operating precautions with the supplier. Powered actuation does not select the correct die or compensate for an unsuitable material stack.
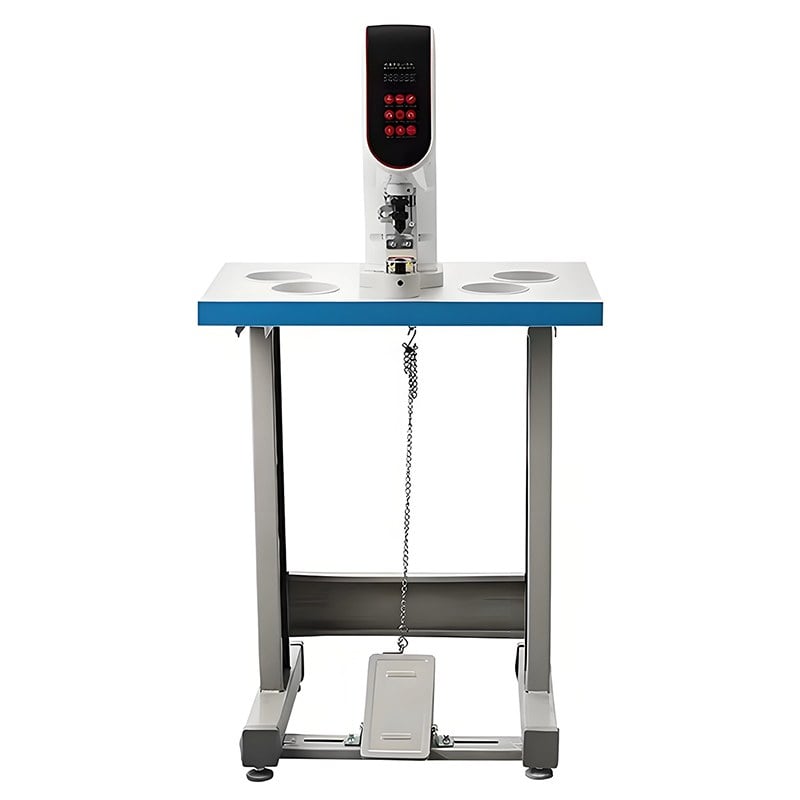
For purchasing decisions involving changeovers, staffing and support, see manual versus electric magnetic snap presses. That comparison should use the same hardware and material on both setups.
Hand pliers
Check the plier die mounts and jaw access with the actual workpiece. The hardware must remain correctly seated while the tool closes. Bulky seams or curved assemblies may affect handling, so test the finished geometry rather than only a flat scrap.
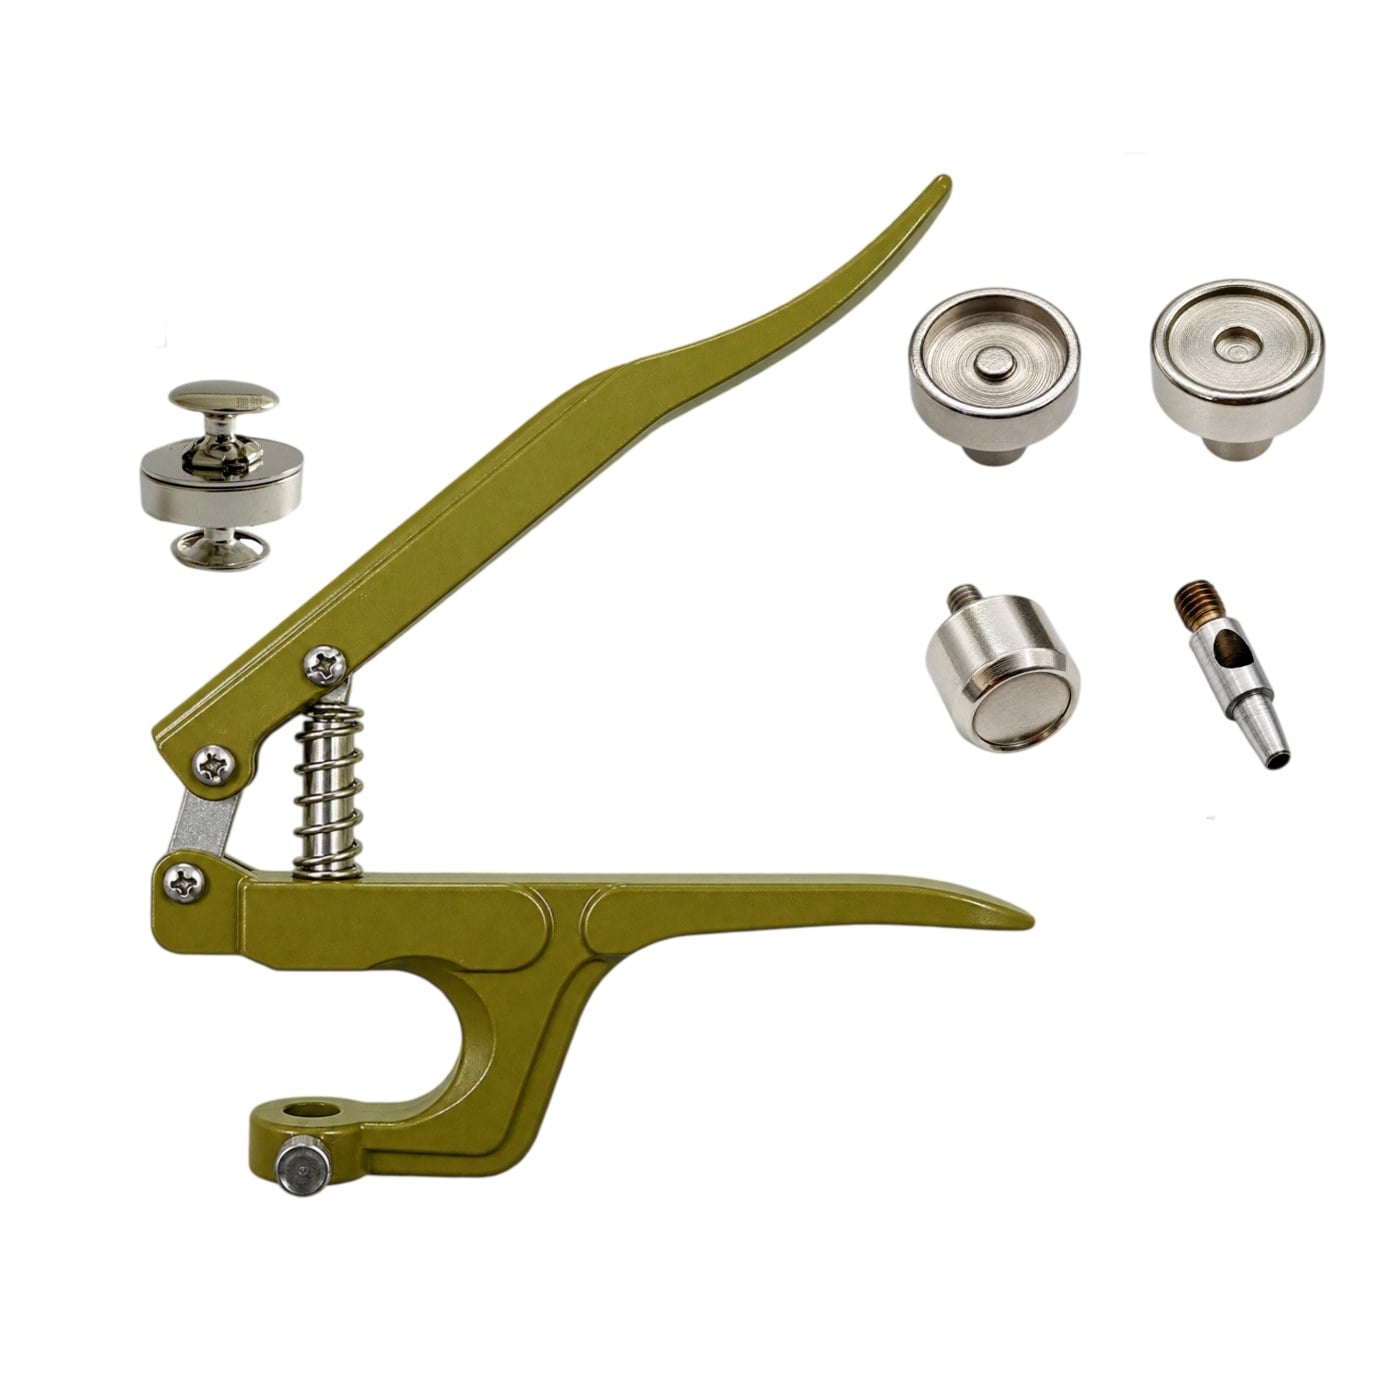
The illustrated tool and parts are references for a matching discussion. Confirm the supplied die set and model instructions before use; similar-looking pliers can have different interfaces and working travel.
Hammer setting
Use the dedicated setting tool and supported base specified for the selected snap. Distinguish a hammer-operated cutting tool from the tool that forms the fixing end. Do not substitute an ordinary rivet setter because its tip appears similar.
Notre hand tooling for single-rivet snaps et machine tooling reference represent different installation arrangements. They are not interchangeable instructions.
Approve the method on the actual assembly
- Prepare a sample with the intended material layers and backing parts.
- Install using the confirmed tool, dies and supplier instructions.
- Inspect both faces for seating, marks and material damage.
- Check attachment security and the alignment of the complete closure.
- Record the accepted setup and keep the sample for comparison.
A method is ready for production only when the specific assembly meets the agreed checks. Return to the magnetic snap installation guide for the full selection sequence, or request a demonstration for your exact model and material.

 French
 English
 Italian
 Portuguese
 Spanish
 Turkish
 Korean
 Japanese
 German
 Dutch