Magnetic snap setting dies must match three things: the exact snap model, the tool interface and the working profile that supports and forms the hardware. Checking only the snap diameter or mounting thread leaves important questions unanswered.
Richarms corresponding dies are supplied for the corresponding Richarms products. An outside supplier’s die may not suit a Richarms snap, and a Richarms die may not suit an outside supplier’s snap. Review the complete combination before relying on it in production.
Identify the model before selecting magnetic snap setting dies
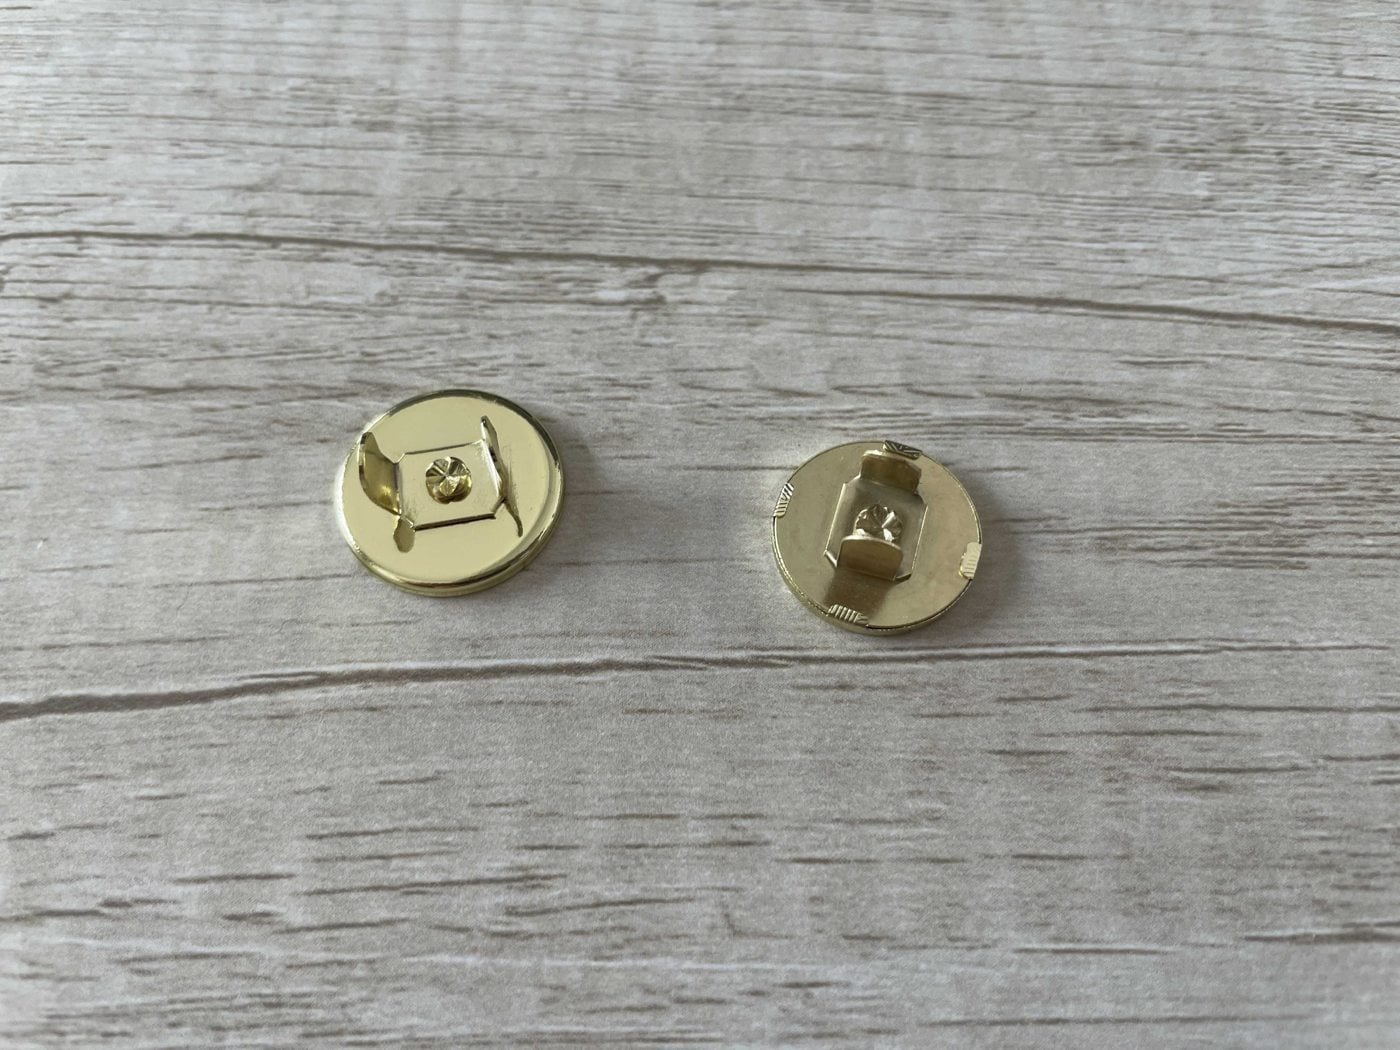
Record both mating halves, the attachment structure and every separate cap, washer or backing component. Include the fixing length or drawing reference where applicable. A family name such as “rivet magnetic snap” can cover variants with different support or forming requirements.
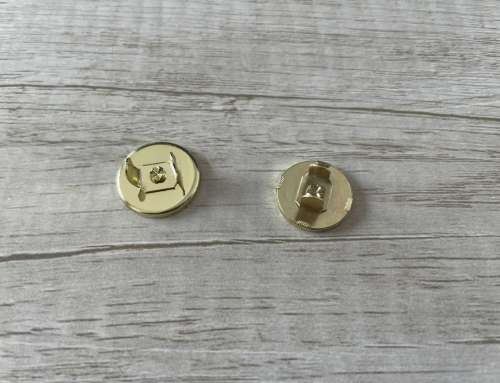
Use a drawing or labeled sample rather than a front photograph alone. The single-rivet product range can help identify the intended model, but the selected variant still needs its corresponding tooling.
Distinguish cutting tools from setting tools
A cutting tool prepares an opening in the material. A setting die supports a component or forms its fixing end. Both may fit the same press, yet they perform different operations.
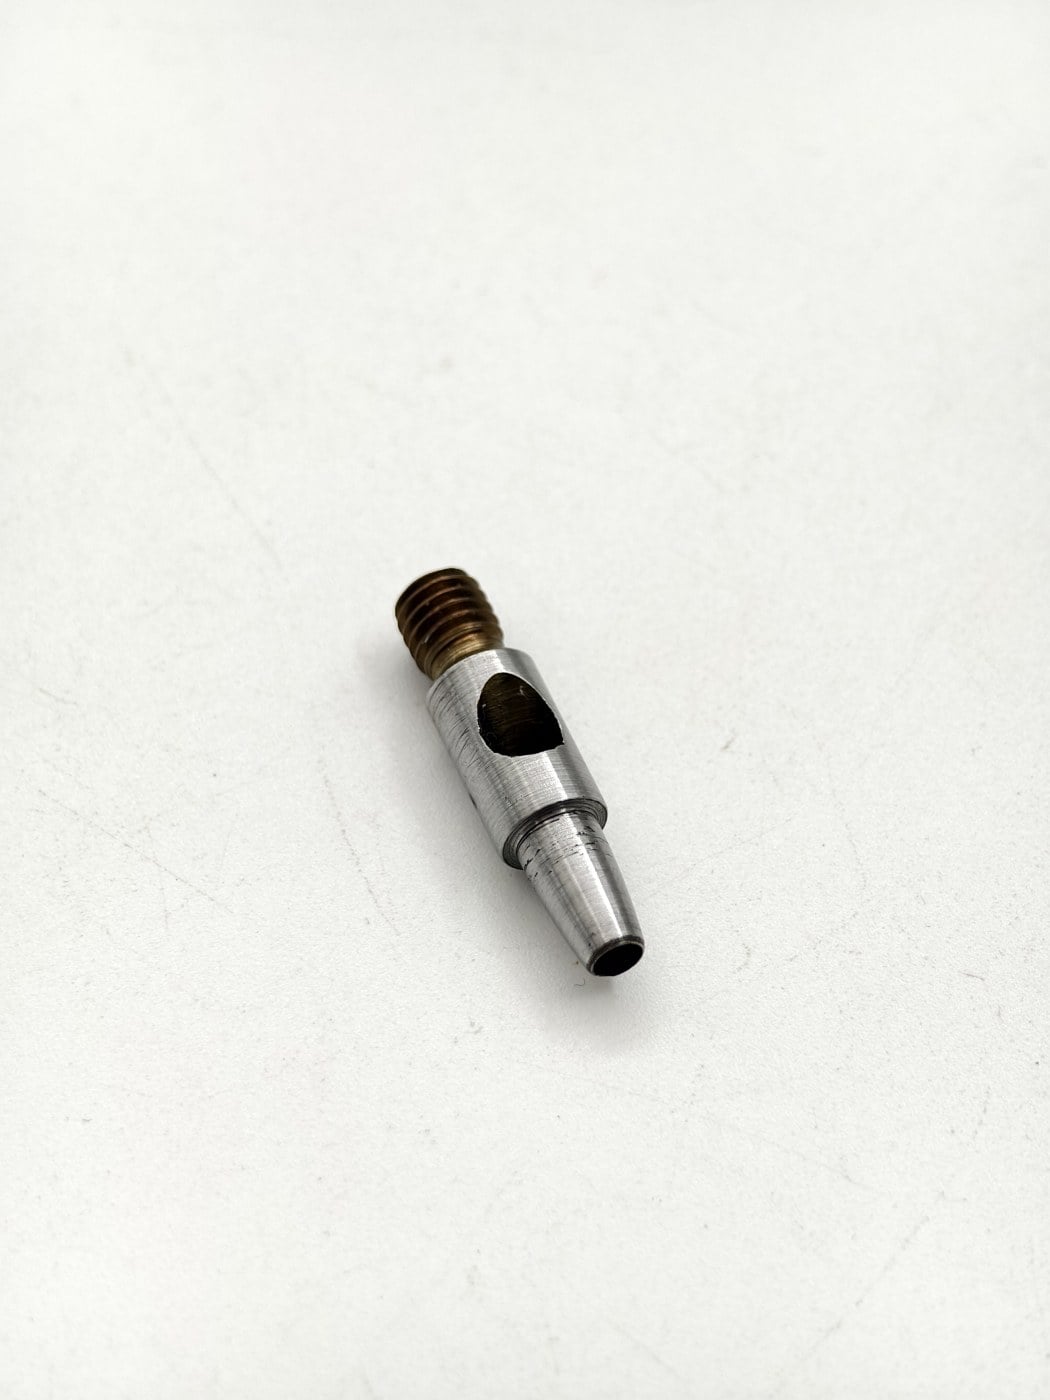
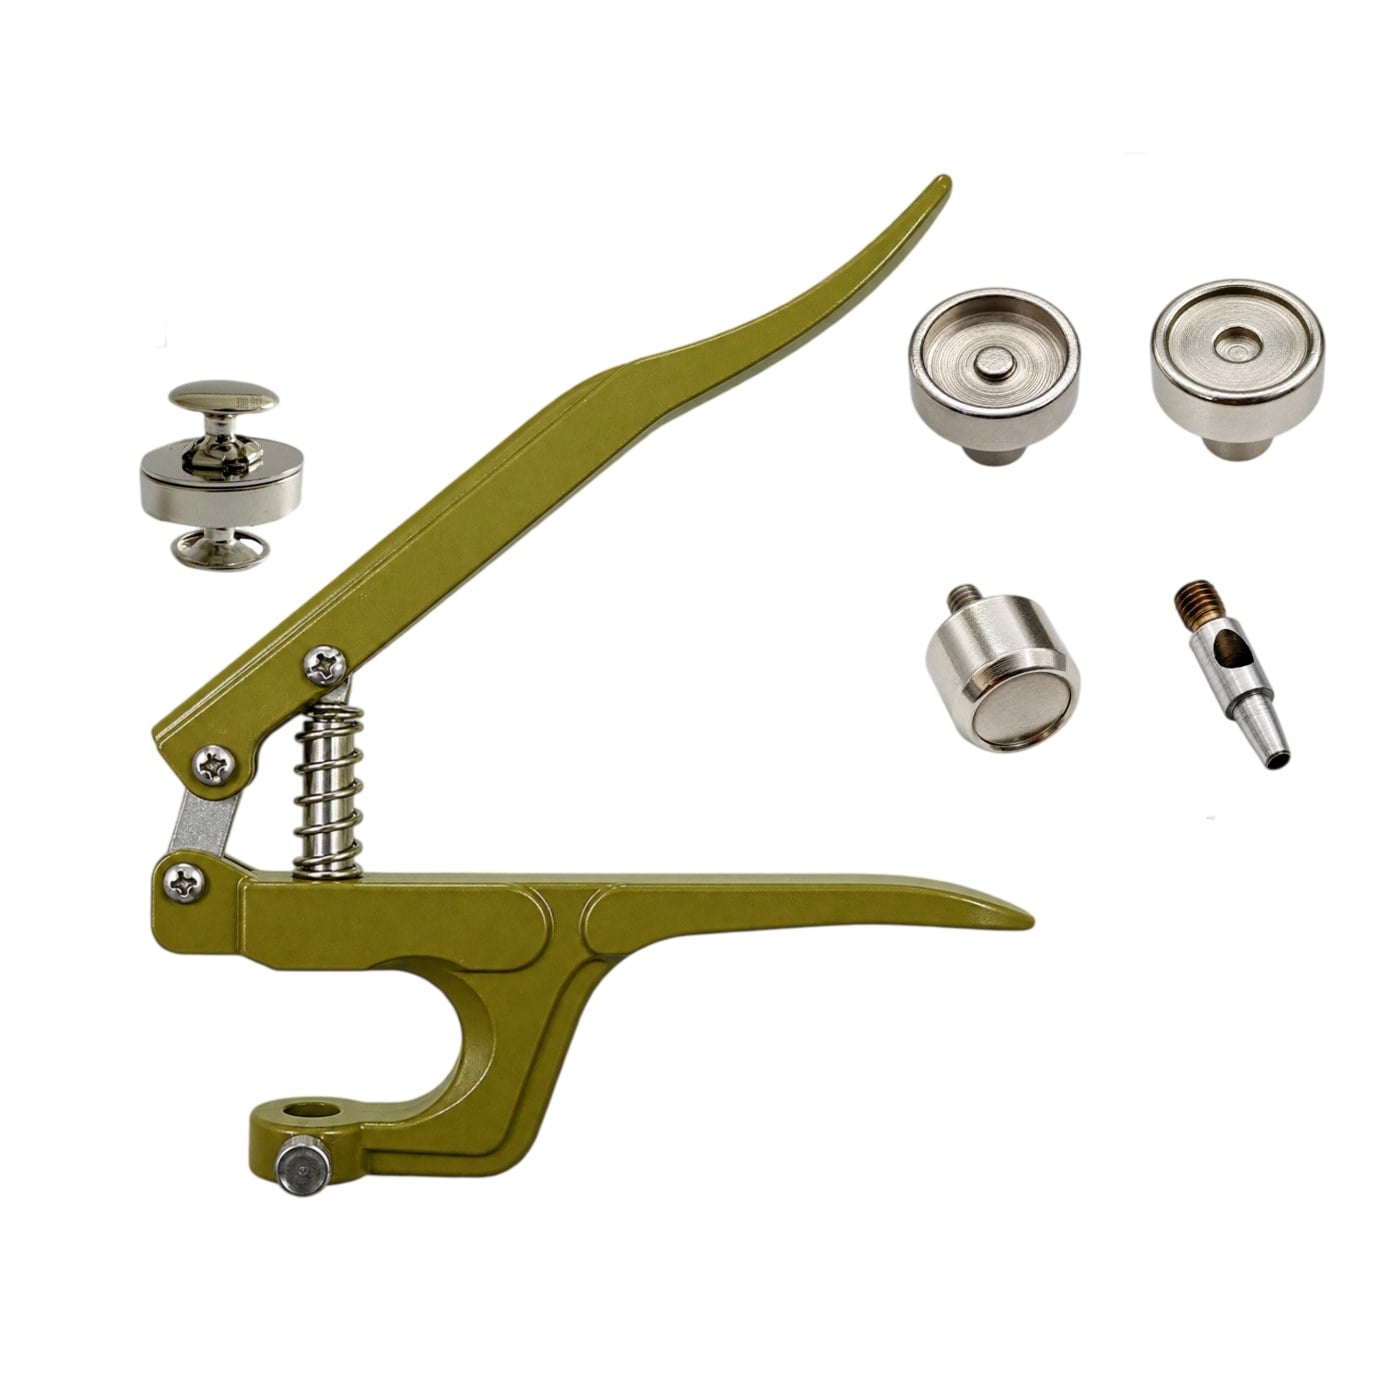
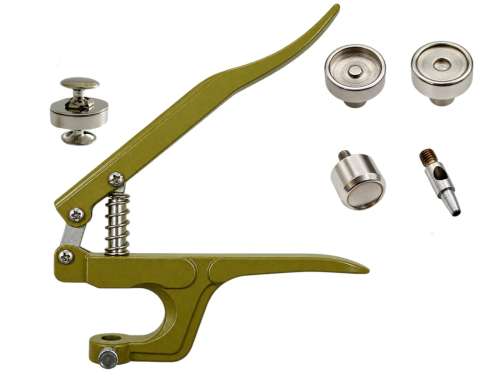
The hollow punch shown here illustrates why the working end matters. A thread describes a mounting feature, not whether the tool is intended to cut a hole, support a cap or form a rivet.
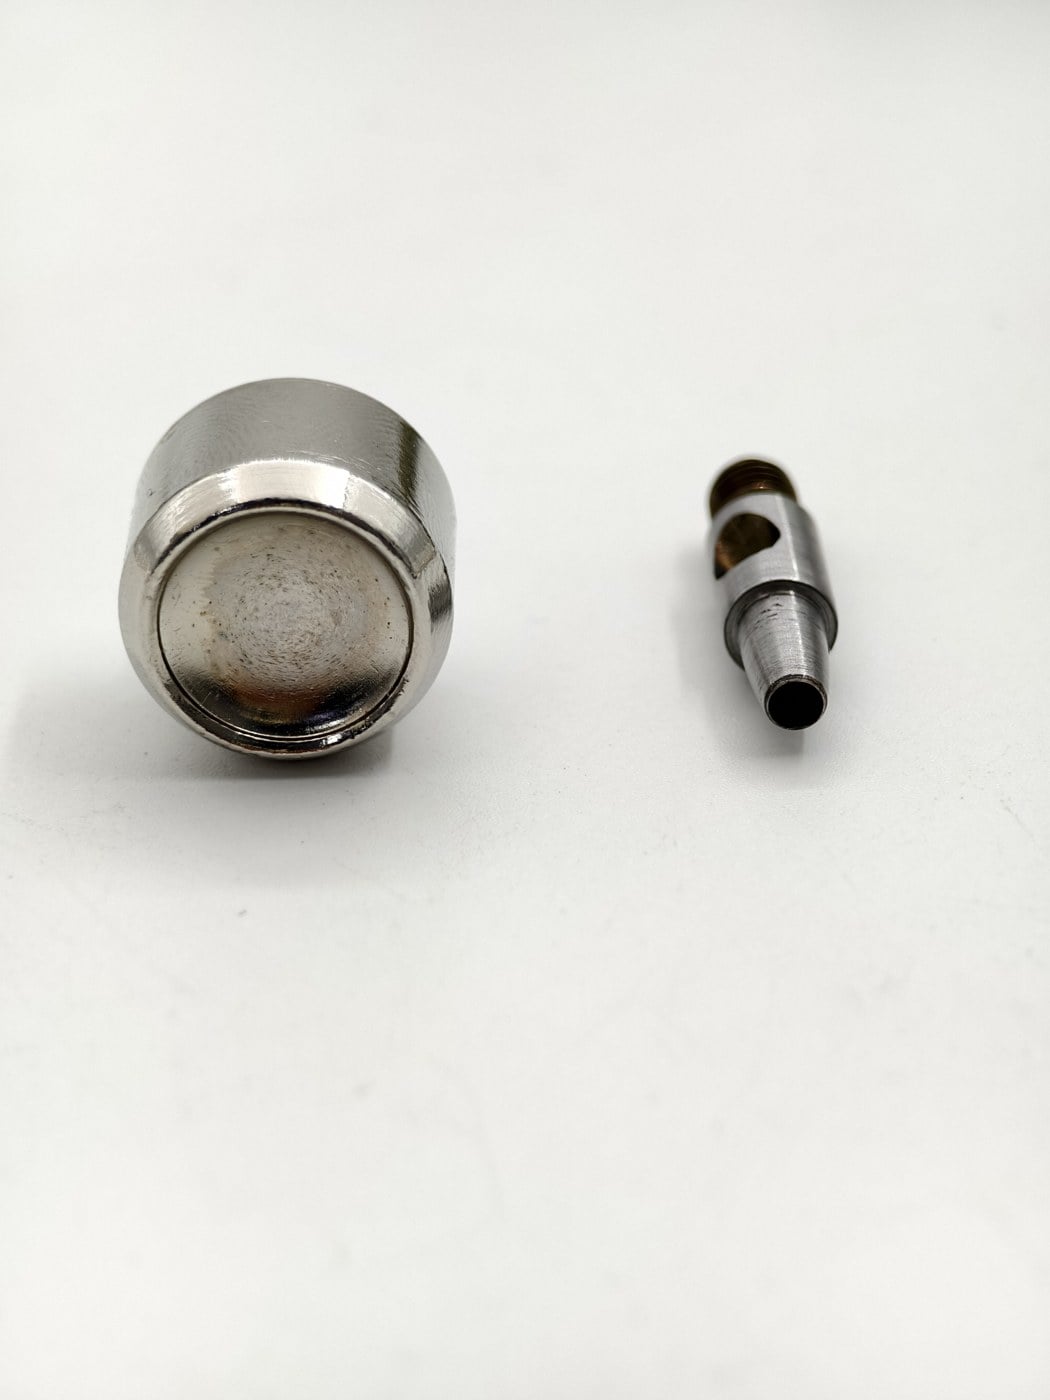
Check the upper and lower interfaces
Supply photos and dimensions for both mounts. Identify threads, shanks, sockets or adapters from the actual tool specification rather than estimating from a photo. Also confirm the available working space, travel and alignment requirements with the equipment supplier.
| Compatibility check | Evidence to provide |
|---|---|
| Snap model | Complete set, drawing and attachment details. |
| Tool mounts | Upper and lower mount photos and measured specifications. |
| Working faces | Clear face and side views of each die, with identifiers. |
| Workpiece access | Material stack and the assembly position within the finished item. |
| Installed result | Trial sample checked against agreed acceptance requirements. |
Tool systems are supplier-specific. For example, Buckleguy identifies compatible tools for its own magnet rivet setter. That information applies to that system; it does not establish compatibility with Richarms hardware.
Match the working profile, not just the mount
A die must support the intended surface and allow the fixing end to form as specified. A cap can sit in a recess without being supported correctly. Likewise, a tool can screw into a holder while its working face contacts the wrong part of the snap.
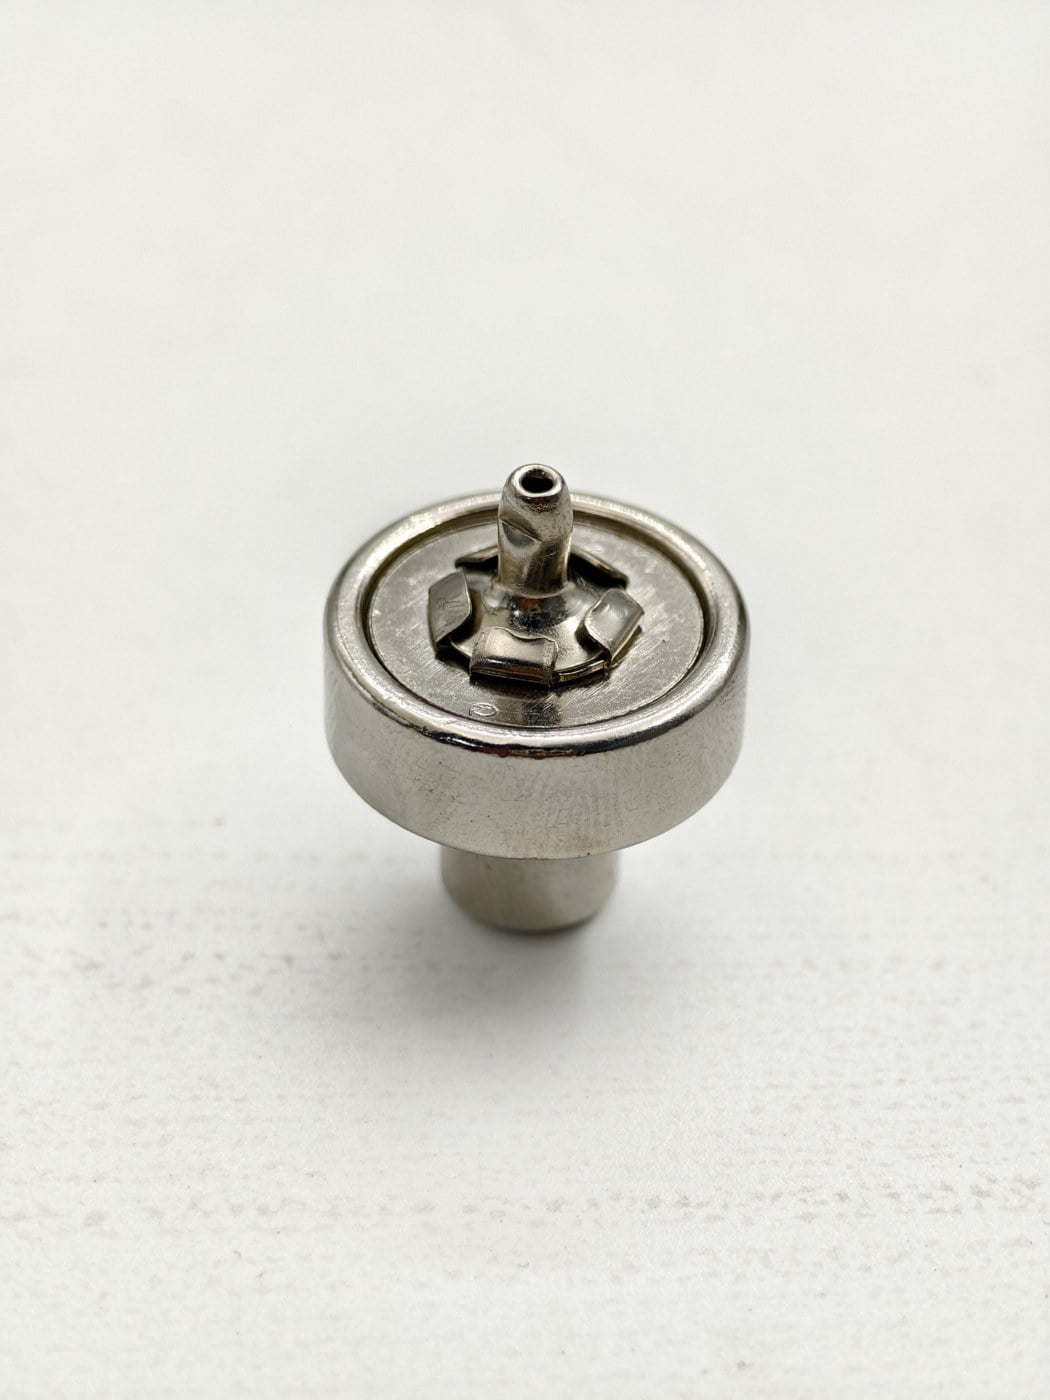
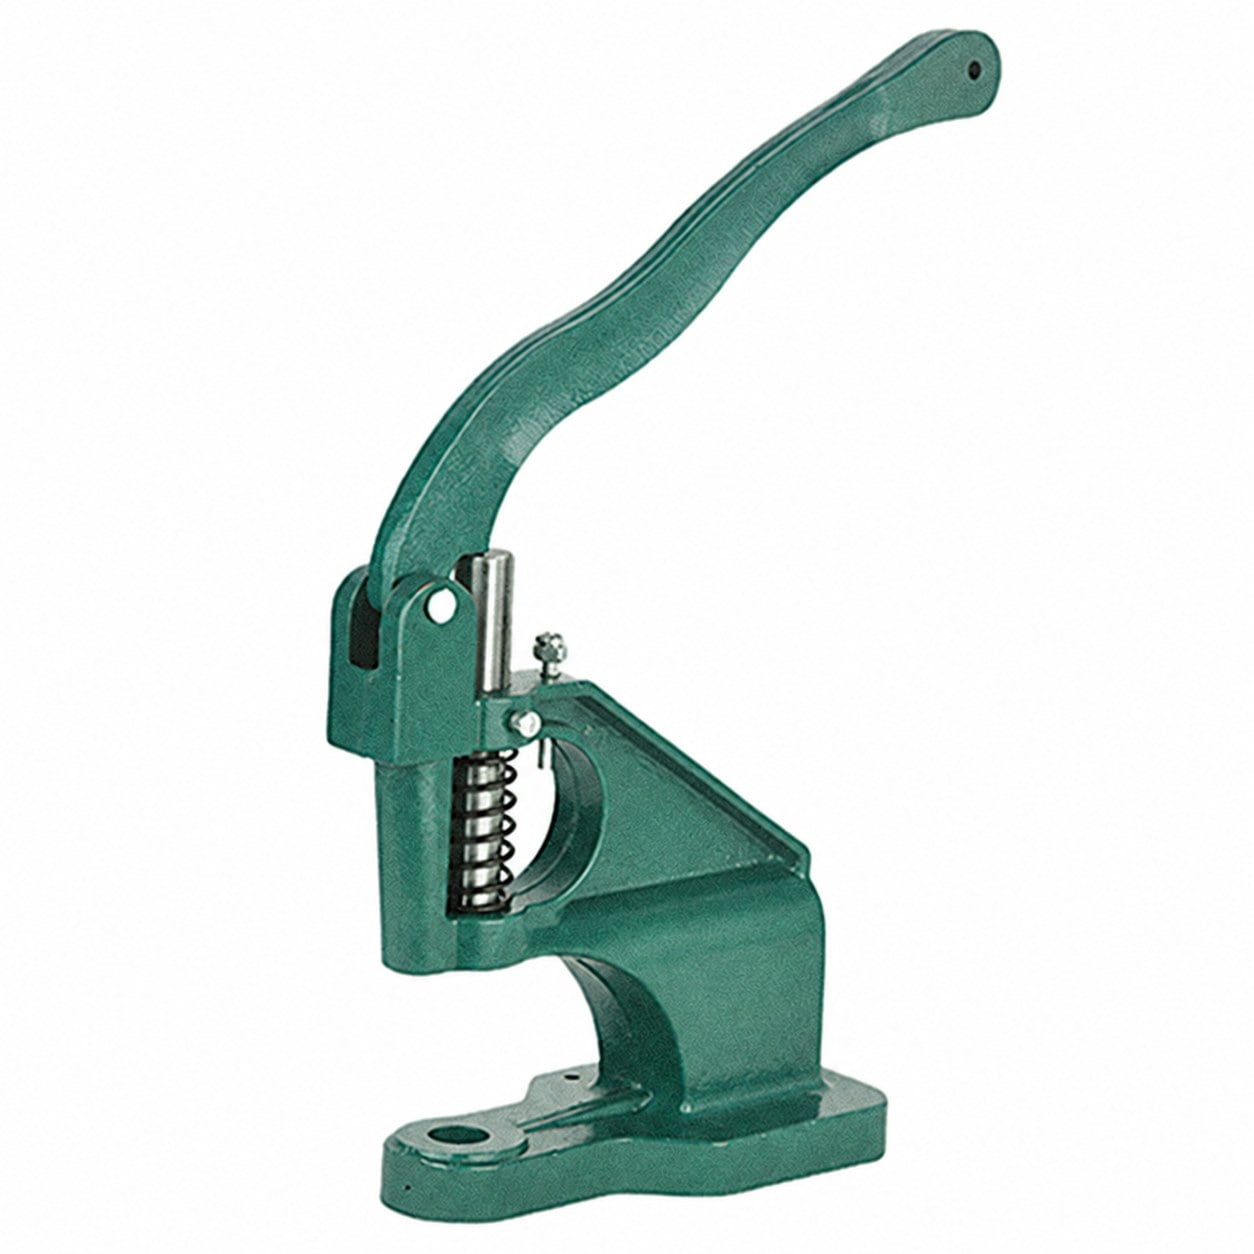
Check the upper and lower pair together. Do not mix a familiar support die with an unidentified forming die simply because both fit the equipment. Compare our machine tooling e hand-setting tooling when specifying the intended method.
Approve compatibility by trial
Install the selected components in the actual material stack using the confirmed setup. Inspect the front, back and attachment security, then check closure alignment in the finished geometry. A successful mounting check is only one part of this process.
Keep a model-to-die record with photos, identifiers and the approved sample. If the result is loose or marked, follow the installation problem checks before changing force or substituting another die.
For the overall sequence, see the installation guide e setting method comparison. Send Richarms snap photos and both tool-interface details for a matching review.

 Portuguese
 English
 French
 Italian
 Spanish
 Turkish
 Korean
 Japanese
 German
 Dutch