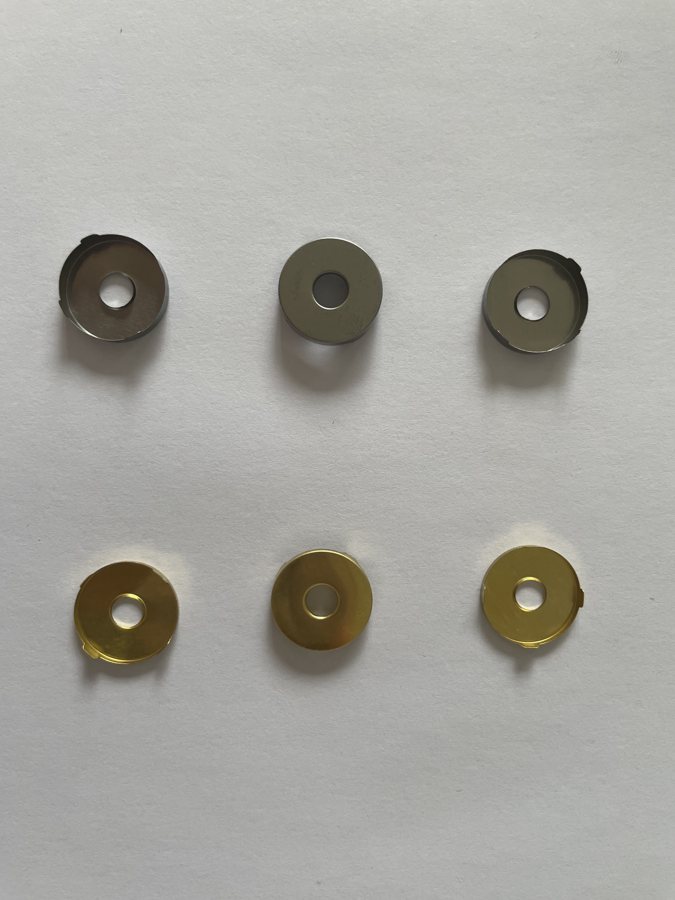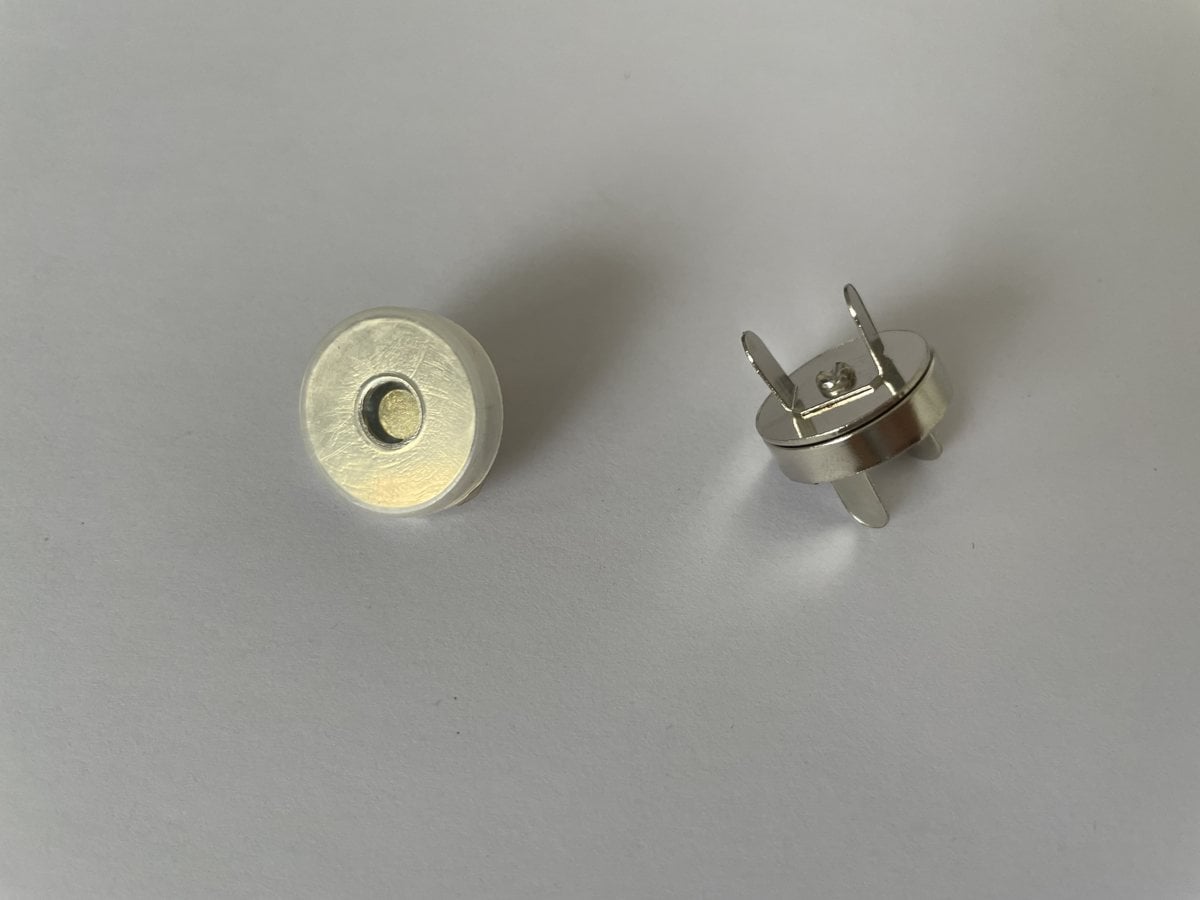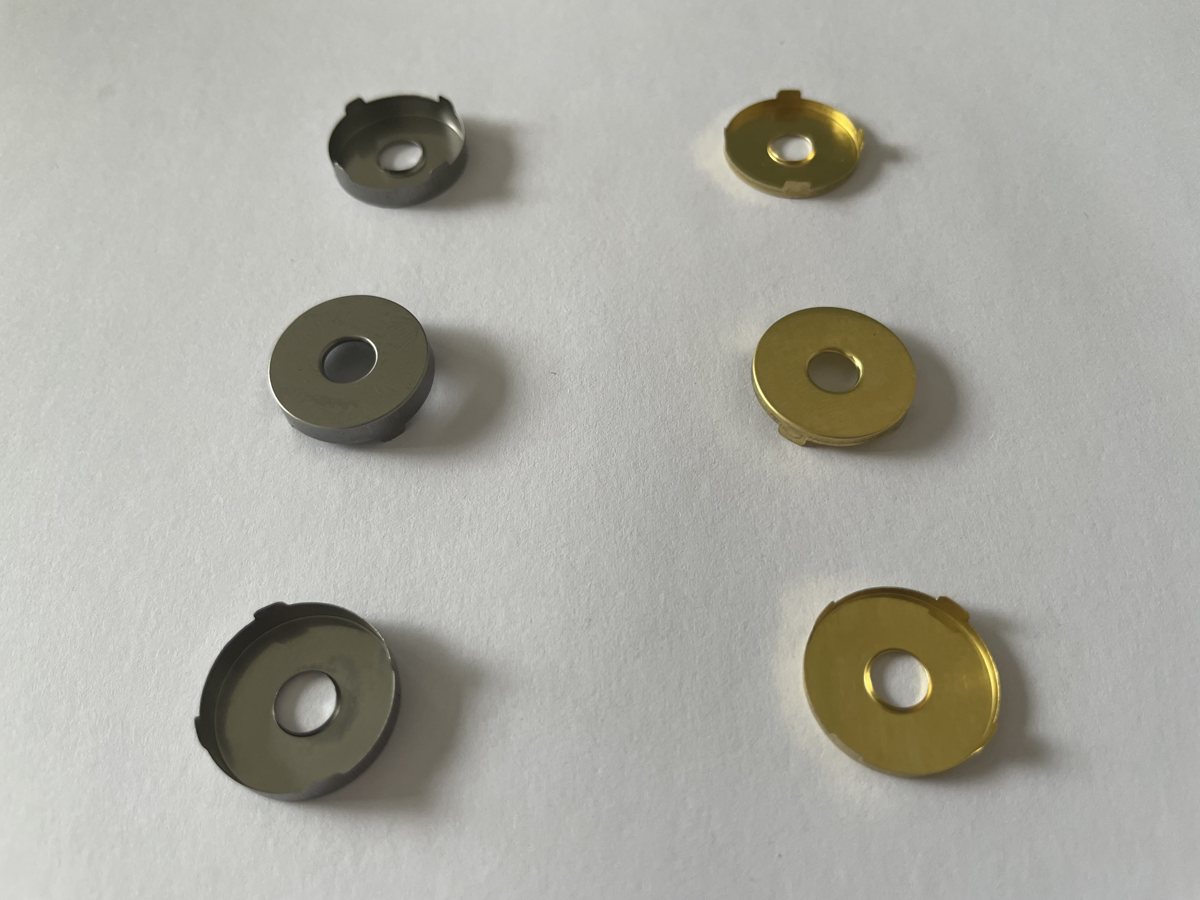
A square magnetic snap creates a different visual effect from a round closure, but the right choice also depends on mounting space and the leather construction. Shape affects how the hardware sits beside a seam or edge, but it does not independently determine magnetic strength, durability or accessibility. Those qualities depend on the complete component and its installation.
Compare models in our magnetic snap collection, then evaluate appearance and performance as separate decisions.

Choosing a square magnetic snap
A round cap can sit naturally with curved flaps and rounded corners. A square cap can echo a rectangular journal, straight strap or geometric bag panel. Both shapes can be subtle or prominent depending on size, finish and placement.
Make a full-size mock-up rather than comparing enlarged product images. Check the relationship between the cap, logo, stitching and edge paint. A cap that looks balanced on a large tote may dominate a small wallet.
Compare dimensions beyond the visible cap
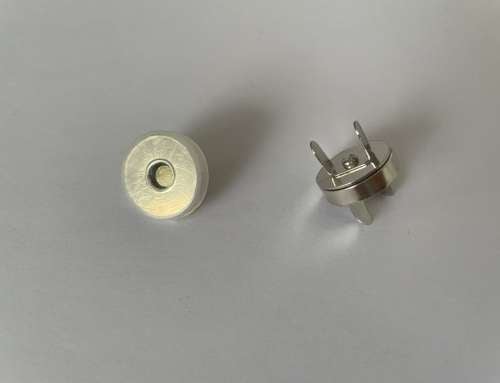
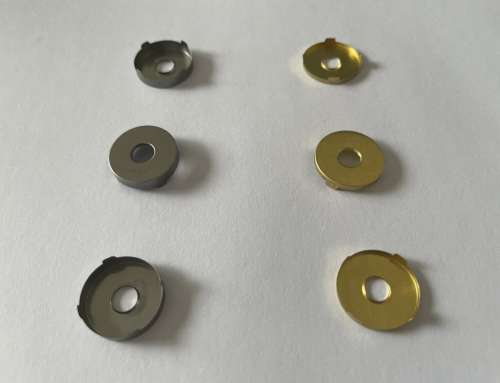
Ask for the cap size, body thickness, mounting dimensions and backing footprint. For a square component, confirm how its width is specified. For either shape, check the space required behind the leather and whether the lining will cover the attachment.
If the article is a notebook cover, use the thin versus thick snap guide alongside the shape comparison. The finished profile matters more than the outline alone.
Test strength without assuming a shape advantage
A square snap is not automatically stronger because it has corners, and a round snap is not automatically easier for every user. Magnet dimensions, magnetic circuit, face-to-face gap and mechanical details all affect the result.
Build samples with the same leather and reinforcement. Compare opening force, sideways movement and flap alignment under the same conditions. Use the strength and material-thickness guide to record the complete assembly rather than relying on a size label.
Plan accurate installation
Square hardware makes rotation visually obvious, so mark its orientation against a seam or edge. Round hardware still needs accurate positioning so that both halves meet when the product is closed.
Use templates for repeat production and check the closed bag before cutting. Rivet models require a matching tool and die set, while prong and sew-in models have different preparation steps. The installation guide explains those distinctions.
Coordinate shape with branding
If the hardware will carry a logo, review the artwork at actual size. A round border and a square border may provide different usable areas, but logo detail and the chosen manufacturing process still need sample approval. See our custom logo and finish guide.
For visual references, visit Richarms on Instagram veya Pinterest. For stock choices, check the Richarms online store. Send your preferred shape, dimensions and application to compare appropriate samples.
Related Reading


 Turkish
 English
 French
 Italian
 Portuguese
 Spanish
 Korean
 Japanese
 German
 Dutch