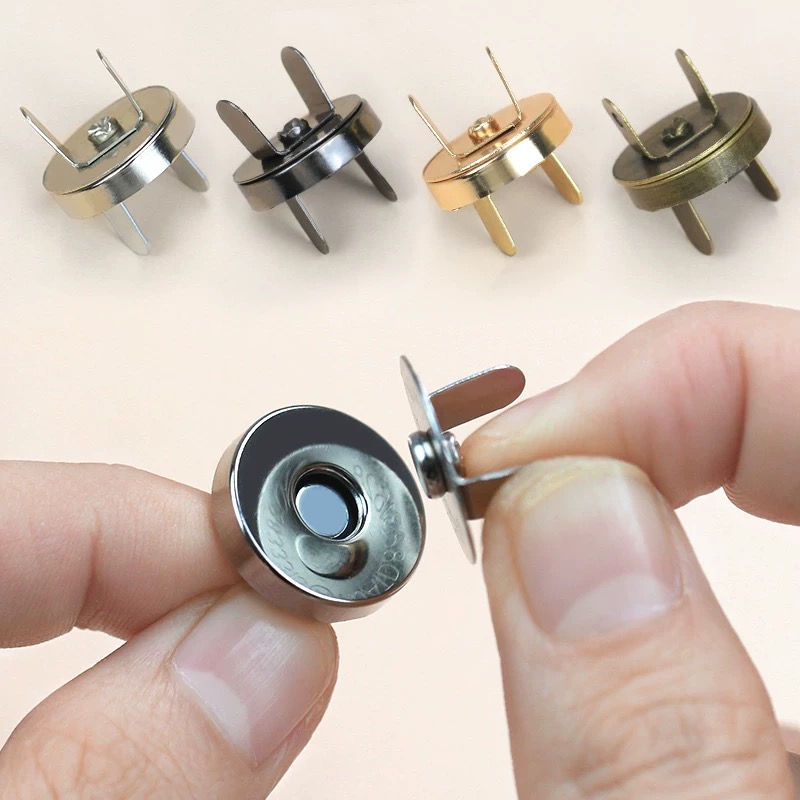
A custom conductive magnetic snap project should start with the feature that an existing component cannot meet. That may be the mating geometry, rear attachment, contact arrangement or available installation space. A clear reason for the change helps avoid developing a new part when a standard structure could be evaluated first.
Richarms offers electrical connector formats that can be reviewed against a project brief. Begin with the existing connector category and the conductive magnetic snap selection guide, then define the scope of any proposed customization.
Define the custom conductive magnetic snap deliverable
Specify whether the supplier is quoting a contact component, a complete mating pair or a larger assembled connector. List which items come from the supplier and which come from the customer or another manufacturer.
A machined conductive part does not automatically include a magnet, insulation or a qualified mating component. The drawing and bill of materials should make those boundaries explicit. Where only one part is being changed, identify the counterpart that must remain compatible.
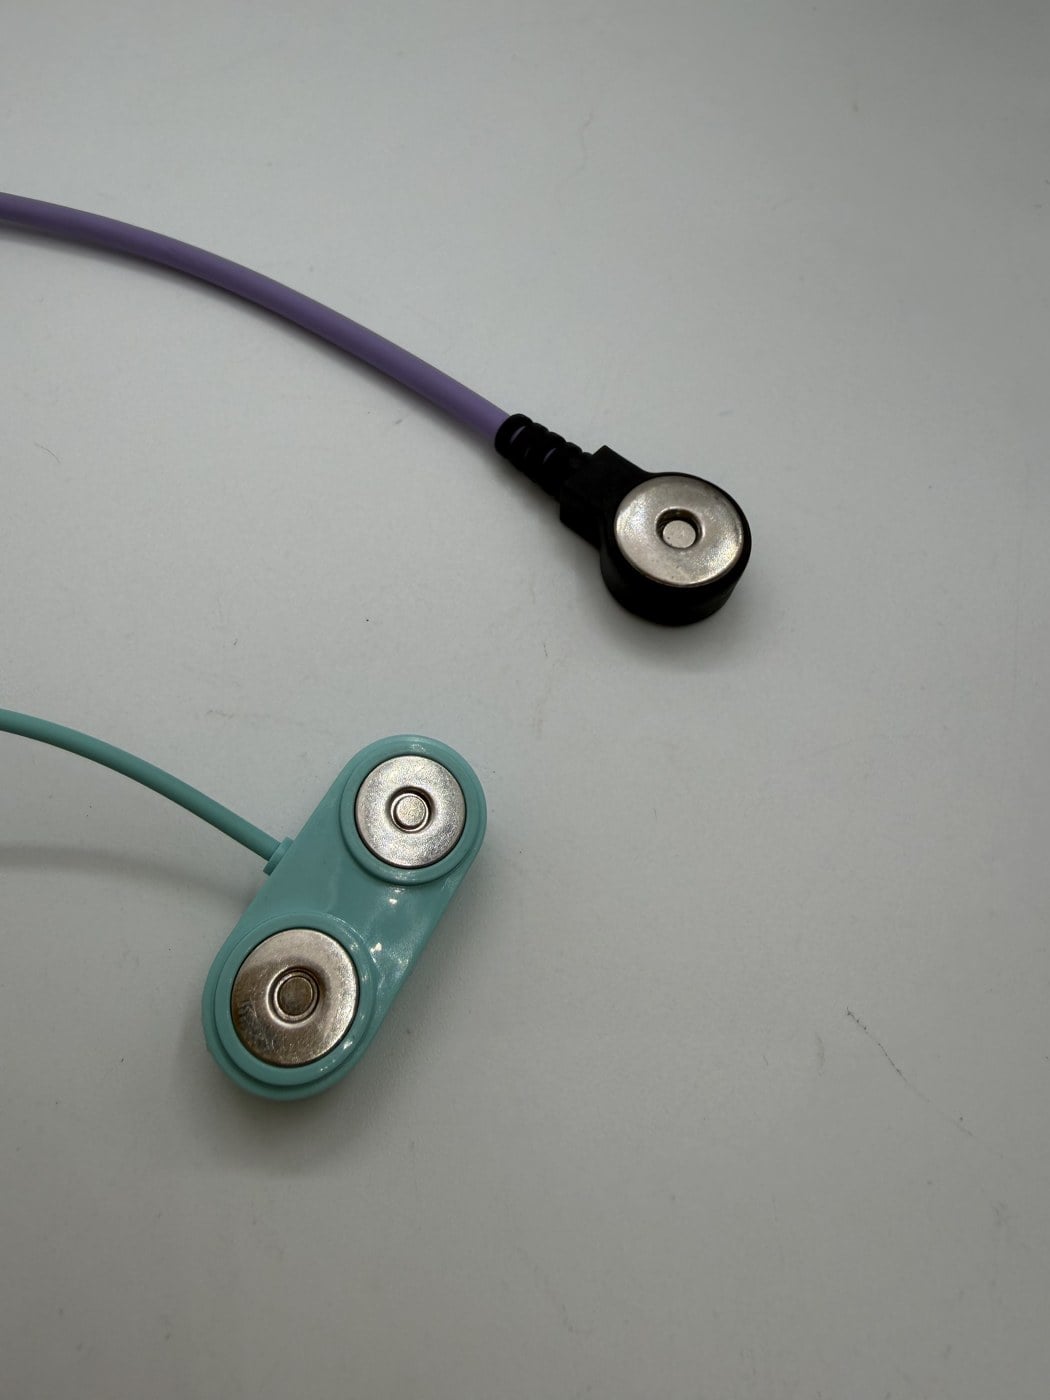
Turn the requirement into a controlled drawing
Show the mating face, critical dimensions, rear attachment and installed clearance. Identify the intended conductive route and any isolated surfaces. Reference the selected materials and finish requirements without treating the finish name as a complete performance specification.
Use the mounting checklist to capture the installed condition. For dimensions that affect fit, record the datum and tolerance rather than supplying only a nominal overall size.
If more than one concept is being compared, label them as separate alternatives. They should not be presented as successive improvements until the development record shows that one replaced the other and explains why.
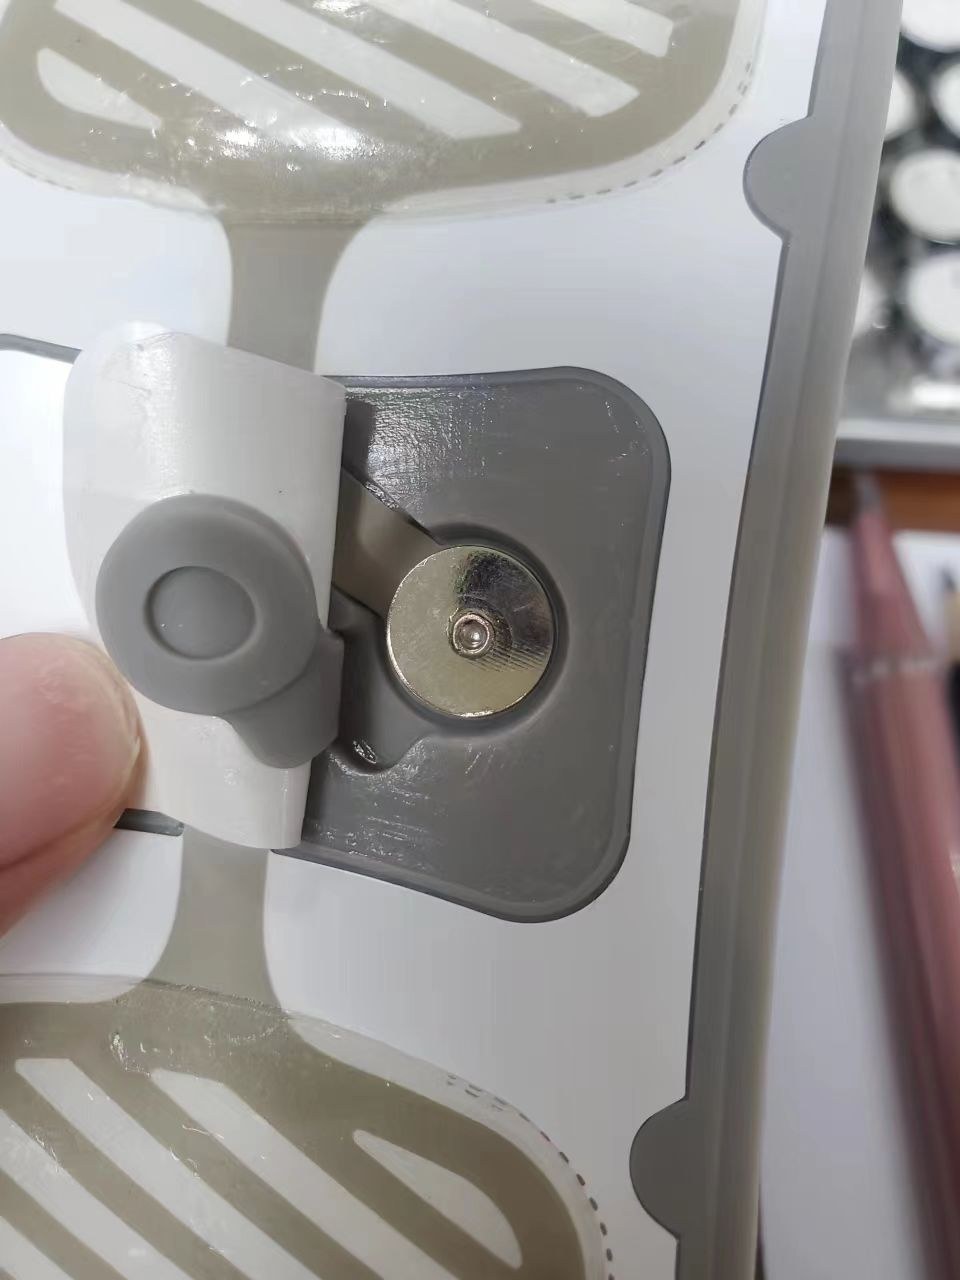
Plan samples around decisions
Each sample round should answer an identified question: whether the interface seats correctly, whether the rear attachment fits the housing, or whether the proposed joining process can meet the agreed criteria.
Keep the sample ID, drawing revision and assembly record together. Record what was evaluated, the result and the next decision. Multiple sample rounds describe development activity; they do not, on their own, prove acceptance or successful production.
For a soldered terminal, include the actual process brief from the solderable magnetic snap connector guide. For contact stability, define the measurement boundary and conditions using the contact reliability planning guide.
Separate quotation questions from technical approval
Ask the supplier to identify the quoted scope, quantity basis, tooling or development charges, sample stages and delivery assumptions. Clarify whether the quantity means individual components or complete matched sets.
A custom finish, changed terminal or new housing may have different production requirements. Confirm MOQ and timing for the selected specification rather than relying on a general figure from another model. Sample approval time and shipment time should be distinguished from manufacturing time.
A quotation can establish a commercial proposal while technical approval remains open. Keep those milestones separate so a requested delivery date does not become an assumption that the sample has already passed.
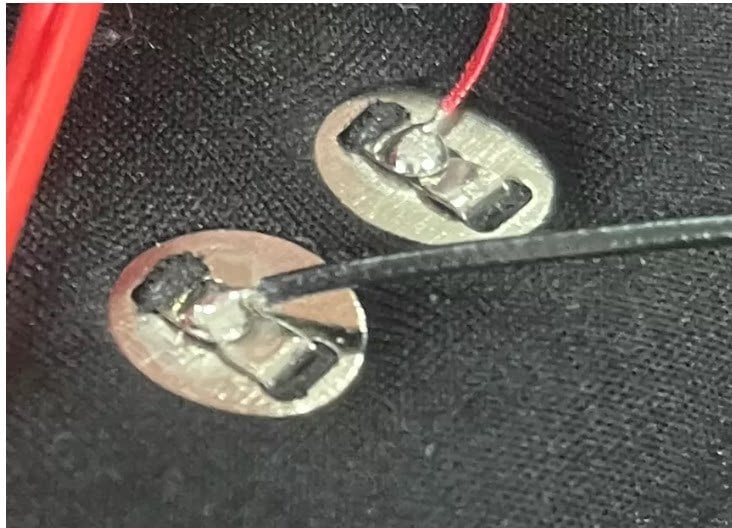
Prepare the manufacturing handoff
When assembly moves to another production partner, transfer the controlled drawing, approved sample reference, mating-part specification and assembly instructions. Identify who owns each inspection and who can approve changes.
The receiving team needs more than a product photograph. Include orientation, packaging identification, any process restrictions and the acceptance criteria established during sampling. Confirm that the production process represents the one used for approval, or identify what needs re-evaluation.
Define how substitutions will be handled. A change in material, finish, counterpart or assembly sequence may require review even when the external dimensions stay the same. Retain the revision history so later issues can be traced to the supplied configuration.
Send the minimum useful project brief
Provide the application, counterpart drawing or sample, installation envelope, proposed assembly process, environment, quantity and required timing. Highlight the feature that needs customization and separate mandatory requirements from preferences.
Contact Richarms to discuss the component scope. The next useful output is an agreed drawing and sample plan with clear acceptance responsibilities. That gives engineering and purchasing a common basis for moving the project toward production.



 English
 French
 Italian
 Portuguese
 Spanish
 Turkish
 Korean
 Japanese
 German
 Dutch