A magnetic snap installation guide should help you specify a complete assembly, not simply choose a machine. The front of a snap shows how the closure meets; the back determines how it attaches to your product. A reliable purchasing brief connects that attachment, the material stack, the setting method and the matching dies.
For factory sampling and production planning, follow five decisions: identify both snap halves, separate preparation from fastening, choose a workable setting method, confirm the tooling, and approve an installed sample. This guide explains that route and links to detailed checks for each decision.
Start the magnetic snap installation guide with the attachment
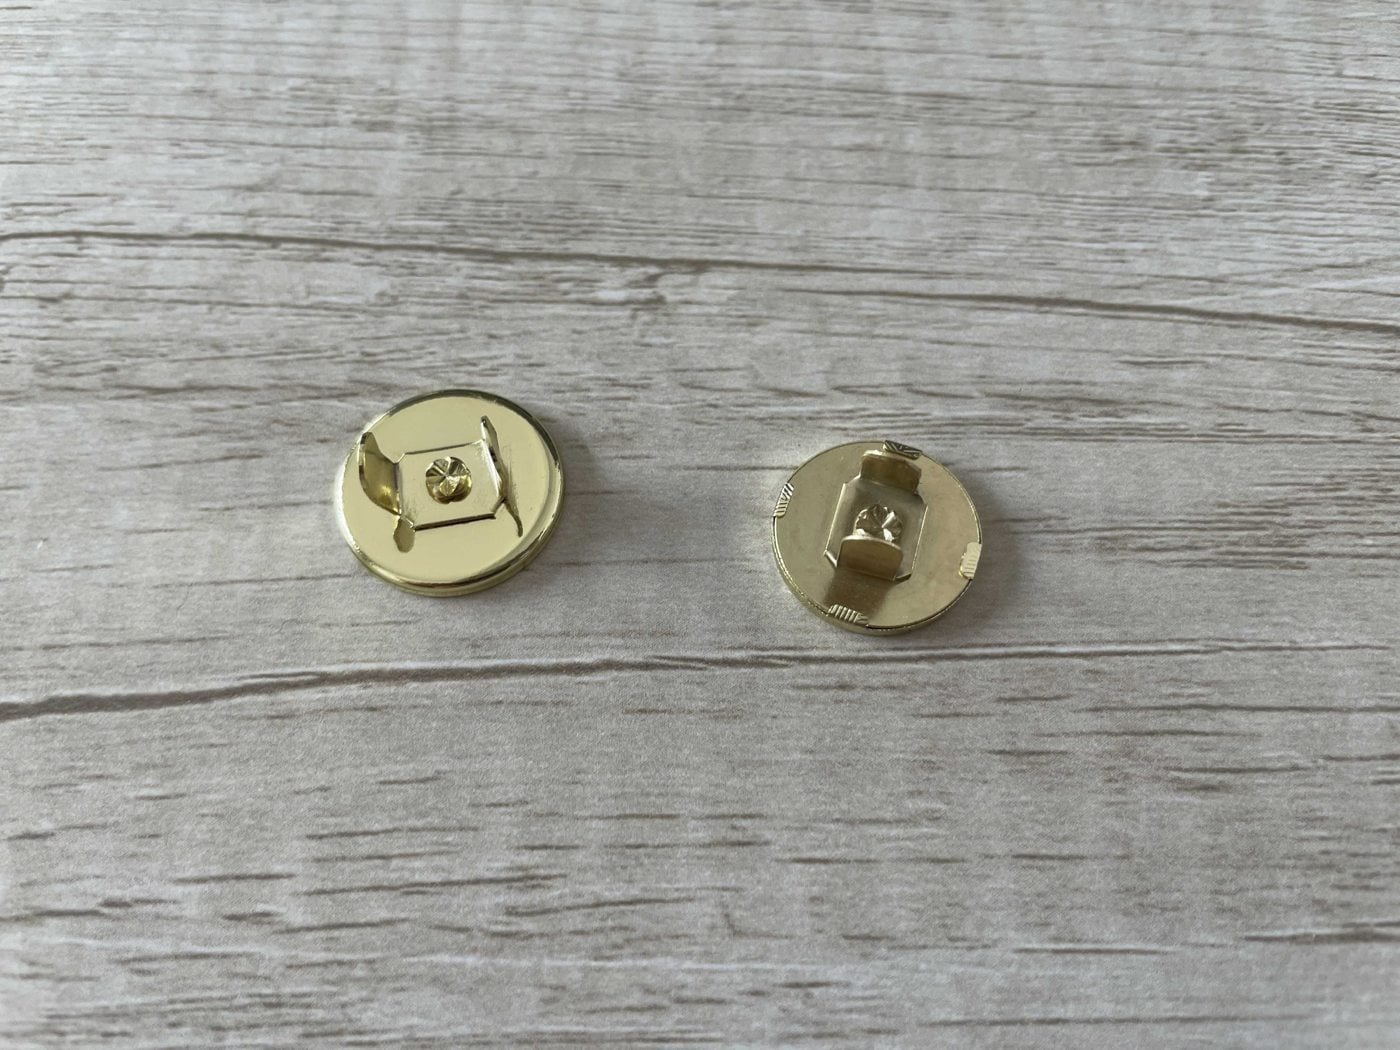
Richarms works with four attachment structures: rivet, prong, tubular rivet and eyelet. They describe the fixing end rather than the visible shape or magnetic strength. A complete closure can also combine different attachments on its two halves, so a product name alone is not a complete installation specification.
| Structure | What to identify before ordering |
|---|---|
| Rivet | The post and receiving component, backing arrangement and specified setting tool. |
| Prong | Prong spacing, required slots, backing plate and how the prongs are formed. |
| Tubular rivet | The hollow fixing section, mating parts and required forming profile. |
| Kuşgözü | The collar or eyelet section, backing components and supported setting geometry. |
Photograph the front and back of both halves alongside all loose parts. Use our magnetic snap attachment types comparison for this step. For broader appearance and application choices, see manyetik çıtçıt türleri.
Separate preparation from fastening
Making a hole or slot in the material is a preparation operation. Securing the hardware is a setting operation. A punch that fits the machine may still be the wrong tool for setting a magnetic snap. Record these as separate steps, even when the same press is used for both.
Decide when to install the closure in the sewing or assembly sequence. A flat panel may be accessible before stitching but difficult to support after a pocket, lining or gusset is closed. Trial the operation at the stage at which it will actually occur.
Choose among four setting methods
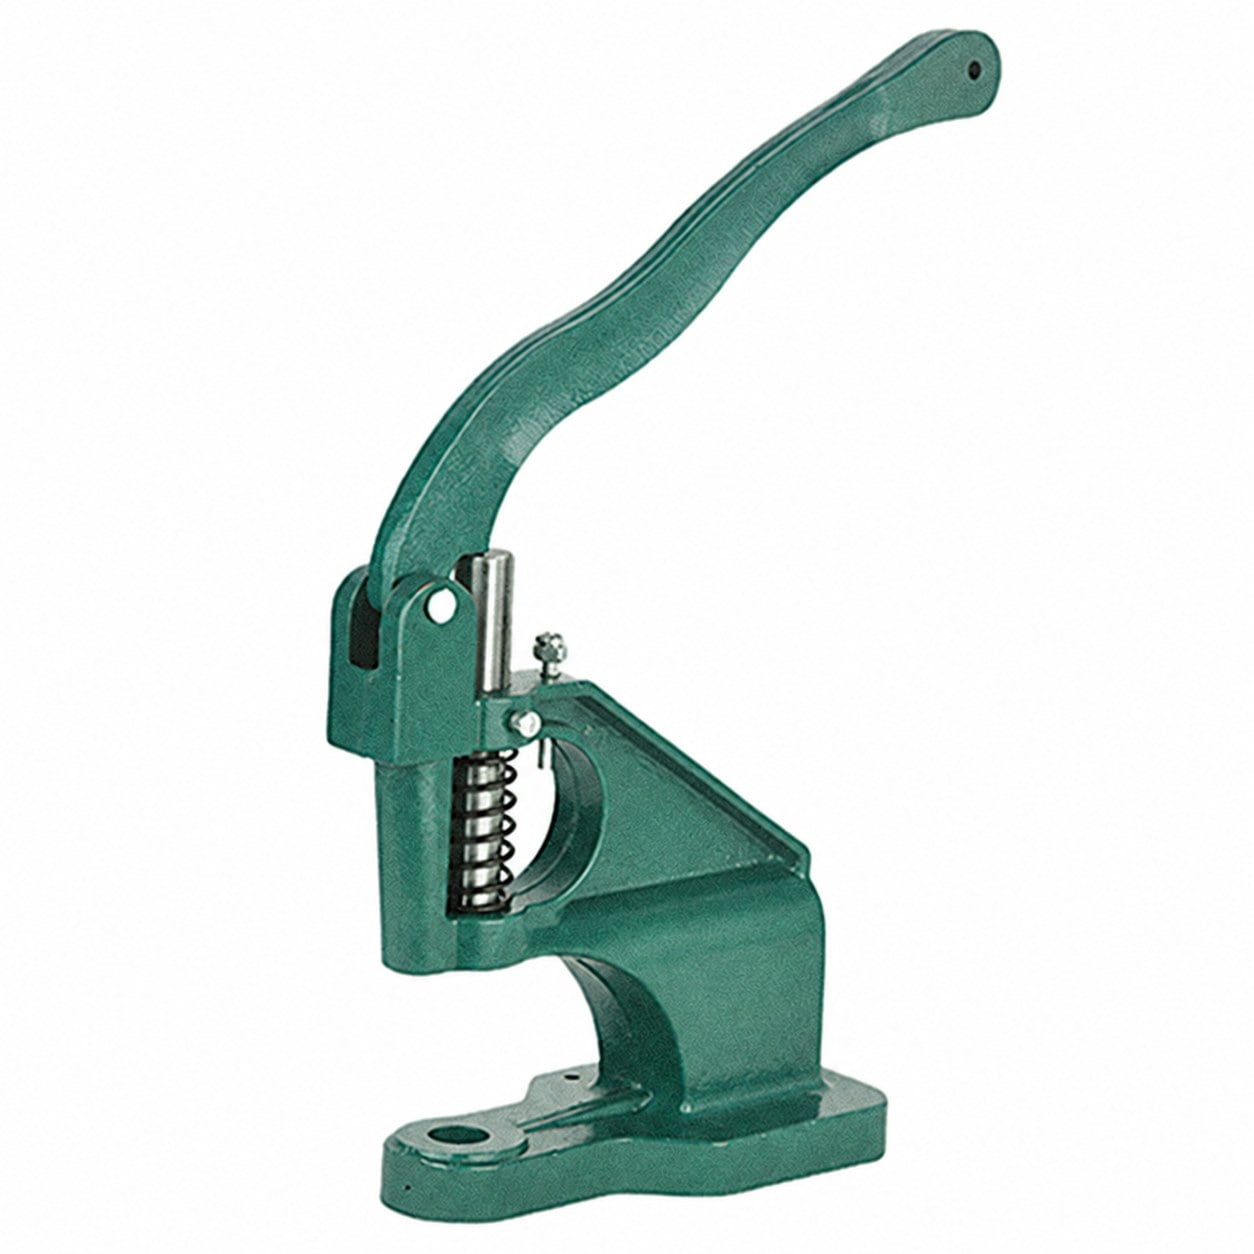
The four options are a manual press, electric press, hand pliers and hammer setting. Richarms can provide corresponding tooling solutions for the four attachment structures; the exact snap, tool and die combination still needs confirmation. This is not a claim that every existing machine accepts every die.
- Manual press: check lever clearance, workpiece reach and support.
- Electric press: check loading, controls, guarding and the approved operating sequence.
- Hand pliers: check jaw access, die mounts and whether the workpiece can remain supported.
- Hammer setting: confirm the dedicated setting tools, supported base and model-specific instructions.
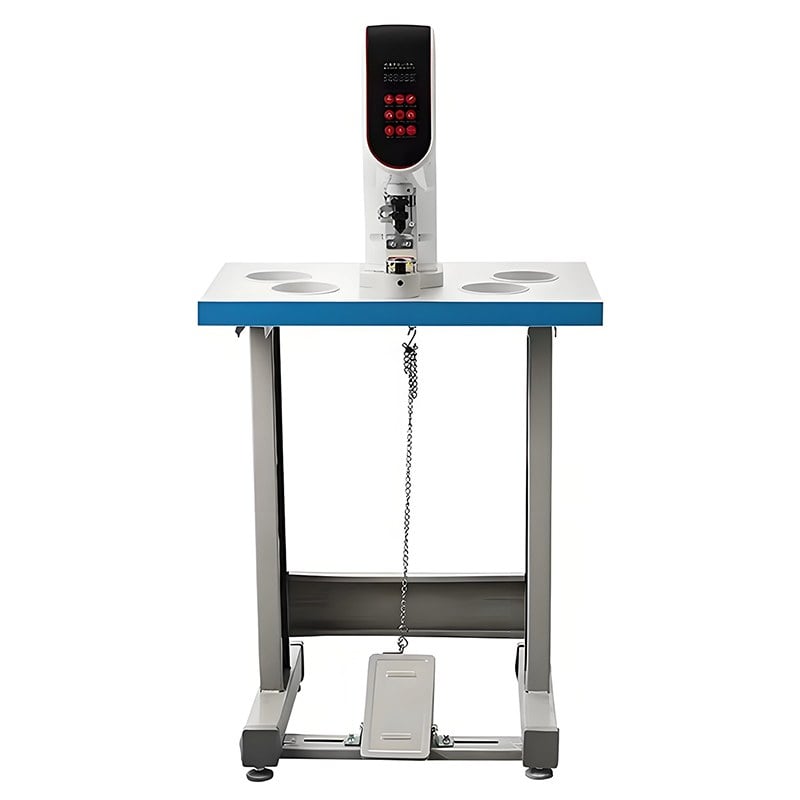
Read the four magnetic snap setting methods for operation planning, or the manual versus electric press comparison for equipment purchasing.
Match the snap, tool interface and die profile
Compatibility has three parts. First, identify the exact snap model and fixing components. Second, confirm the upper and lower mounting interfaces and available working space. Third, check that the die faces support and form the correct areas of the hardware.
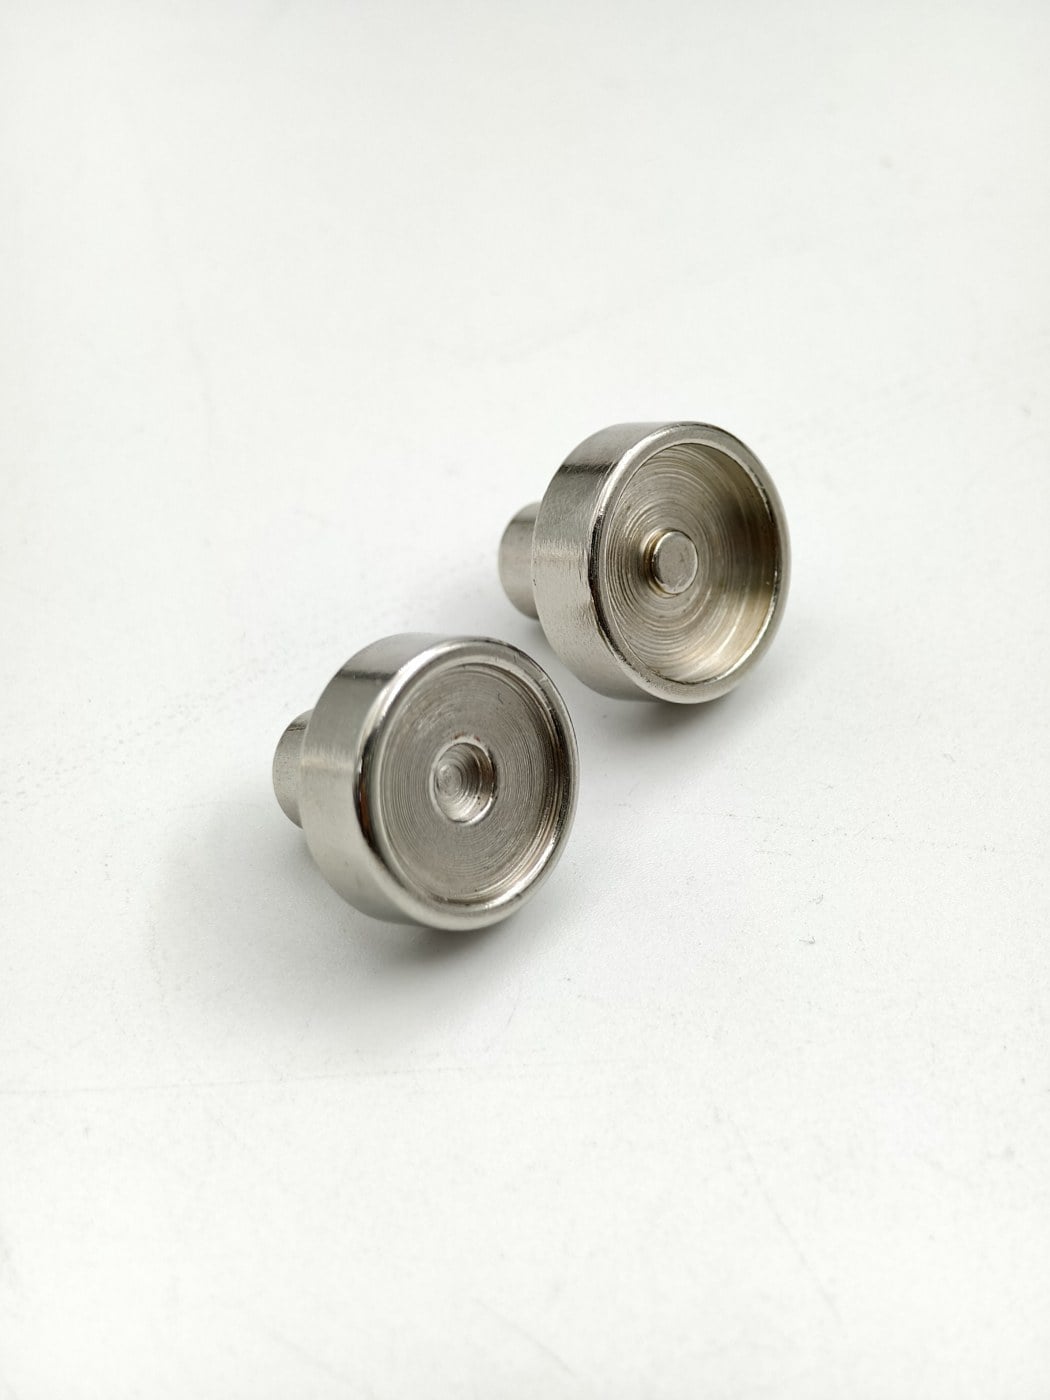
Matching diameter or a thread that screws into place does not establish compatibility. Richarms corresponding dies are supplied for corresponding Richarms products. Cross-brand compatibility requires a separate review. Our magnetic snap setting dies guide explains the information to send; the tooling range provides product references.
Approve the actual installed sample
Use the intended outer material, lining, reinforcement and backing parts. Check both faces, seating, alignment, local material damage and attachment security against your agreed acceptance requirements. Then open and close the complete product in its intended direction. Magnetic closure feel and mechanical attachment security are separate checks.
For a riveted structure, review rivet length versus material thickness before approving the stack. If a sample moves, deforms or closes incorrectly, use the installation troubleshooting checklist instead of immediately increasing force.
Keep an approved sample and a short setup record: snap model, mating components, material stack, die identifiers, equipment model and approved operating settings. Recheck the combination when any of those change.
Request a matched installation setup
Send Richarms your snap photos, material stack and existing tool details. Include the finished product’s access restrictions and expected batch mix. This lets the discussion start with a complete assembly rather than an isolated snap diameter.

 Turkish
 English
 French
 Italian
 Portuguese
 Spanish
 Korean
 Japanese
 German
 Dutch